Example 2
Example two aims to demonstrate how to perform a LEED option 2 daylight analysis.
1. Start by opening the 3D modeller file containing the geometry to be analysed.
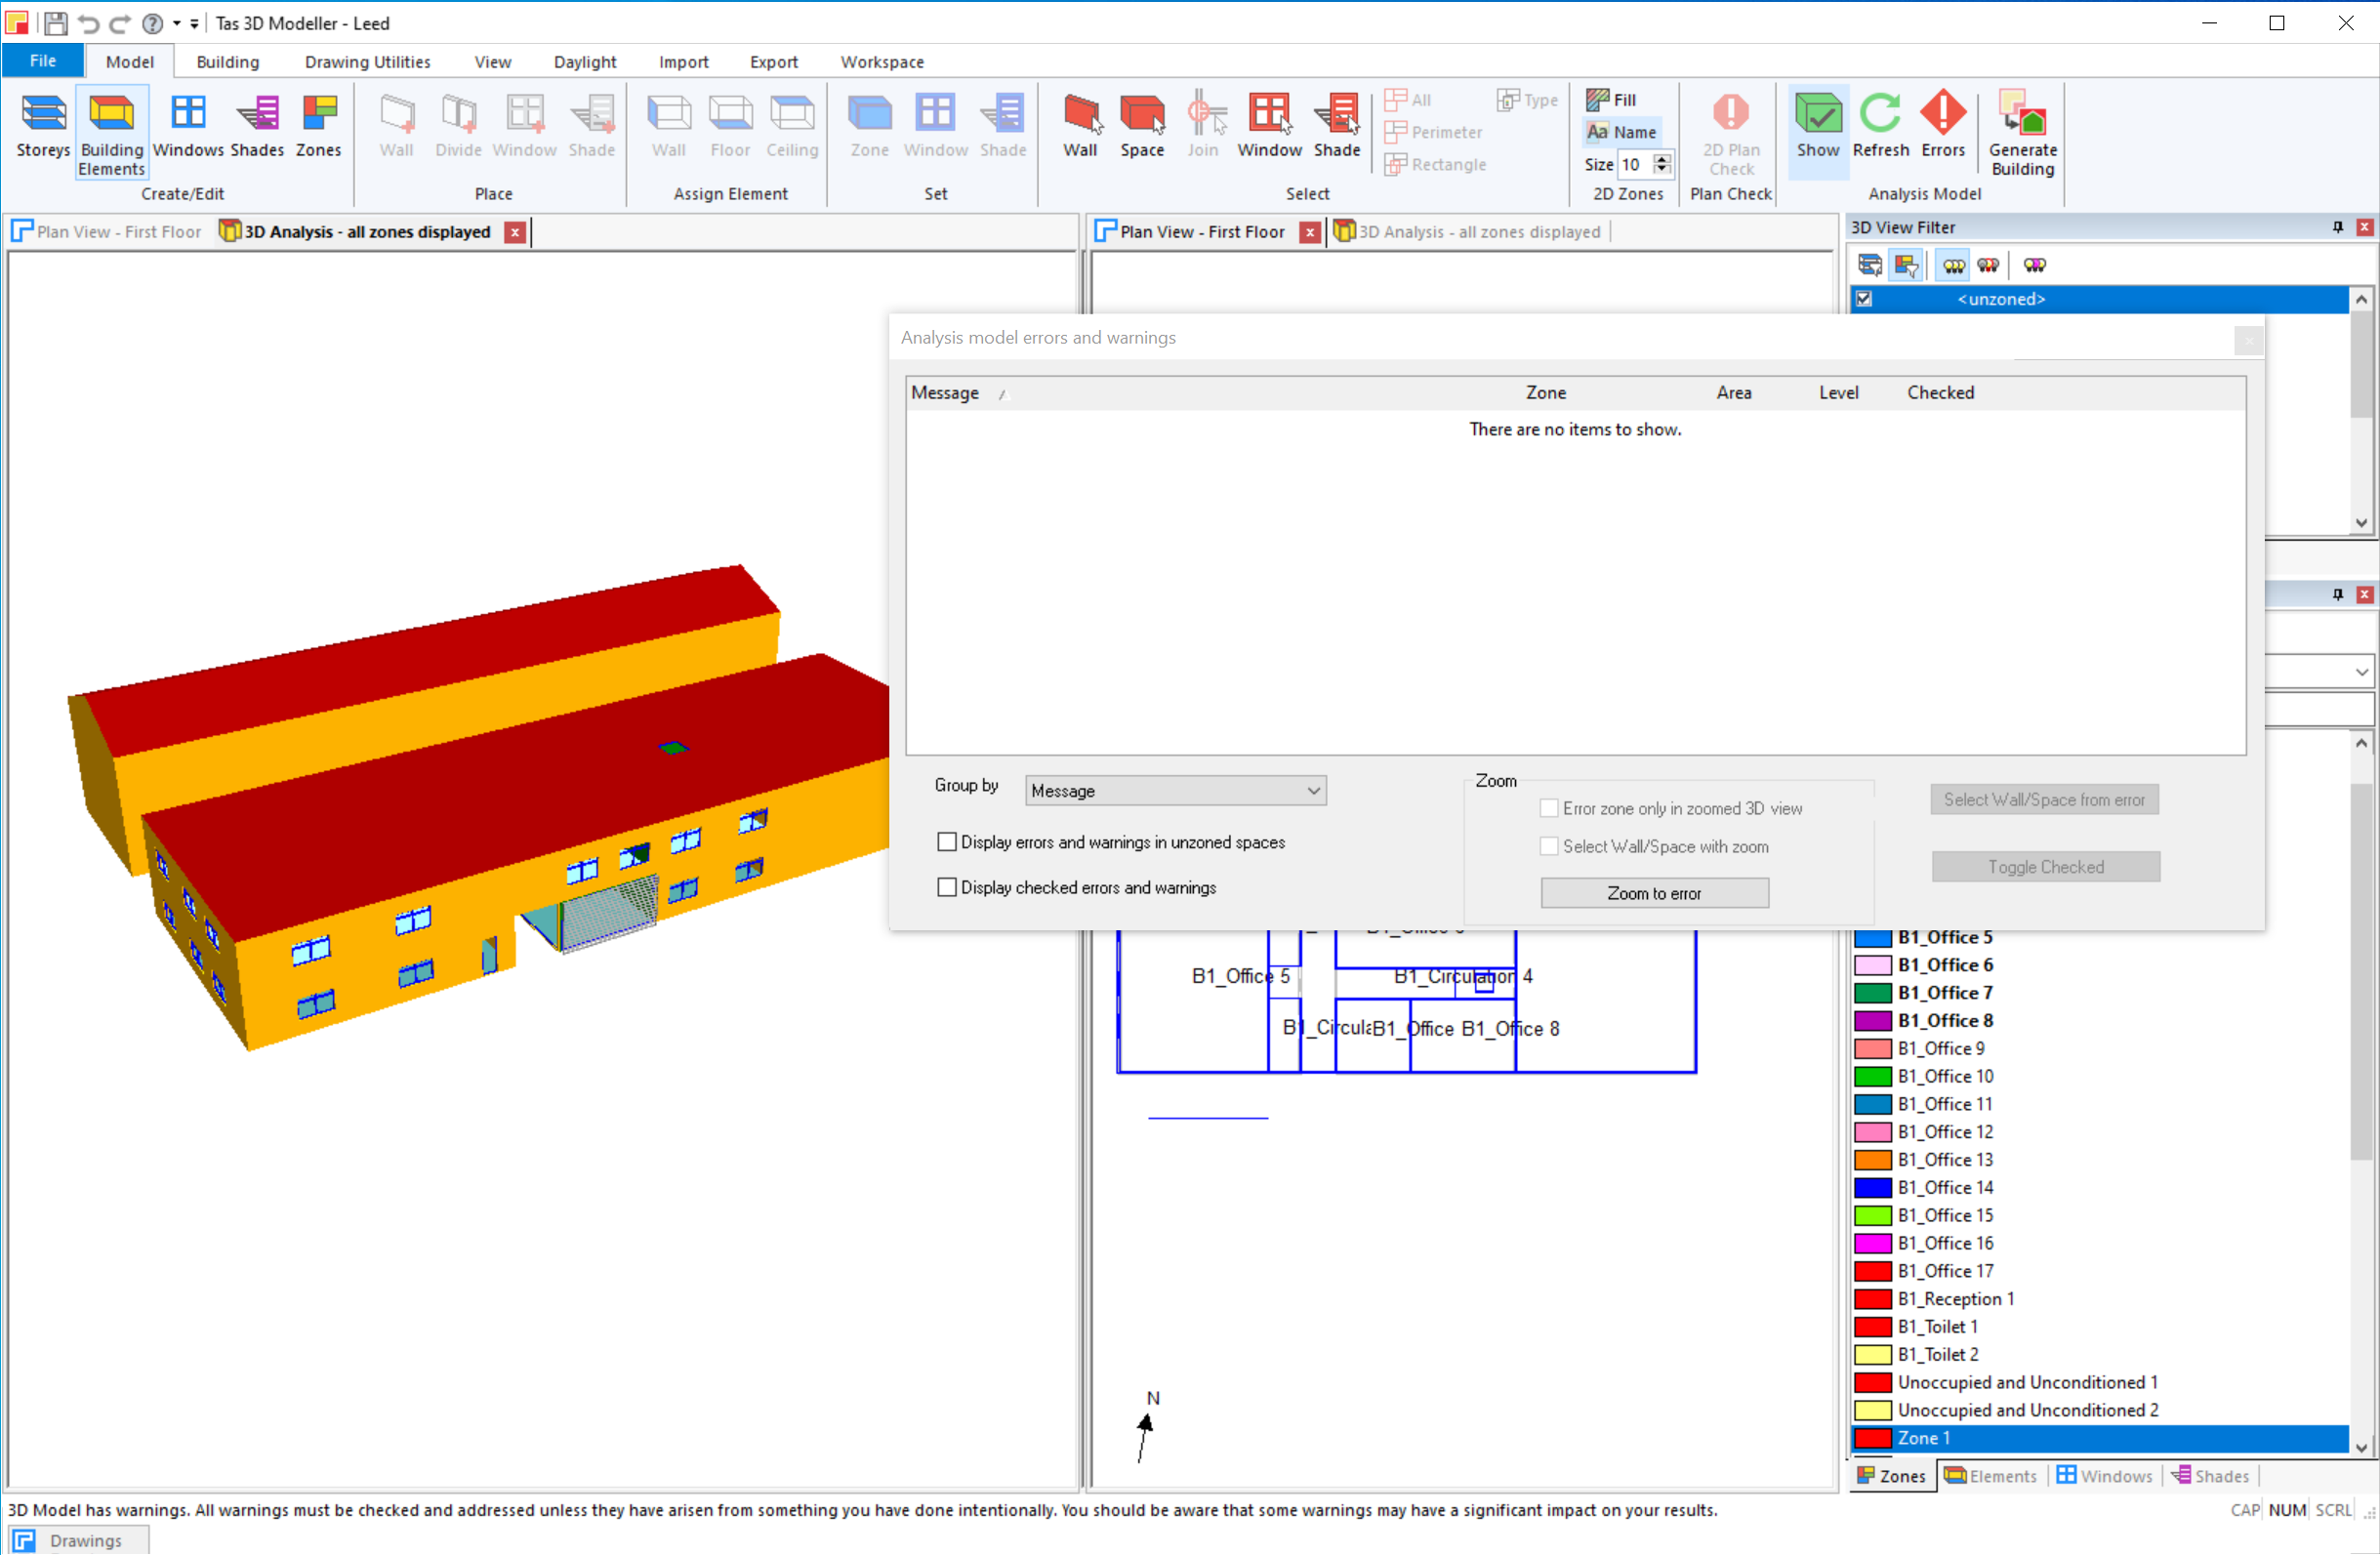
Check that there are no errors by refreshing the analysis model, and ensure that the surface reflectances and transmittances are setup appropriately via the Daylight menu and clicking on Materials.
2. Launch the CBDM wizard by pressing Analysis and Climate Based Daylight Modelling.
Press Next to advance to the calculation settings page, and choose LEED Option 2 from the calculation type dropdown.
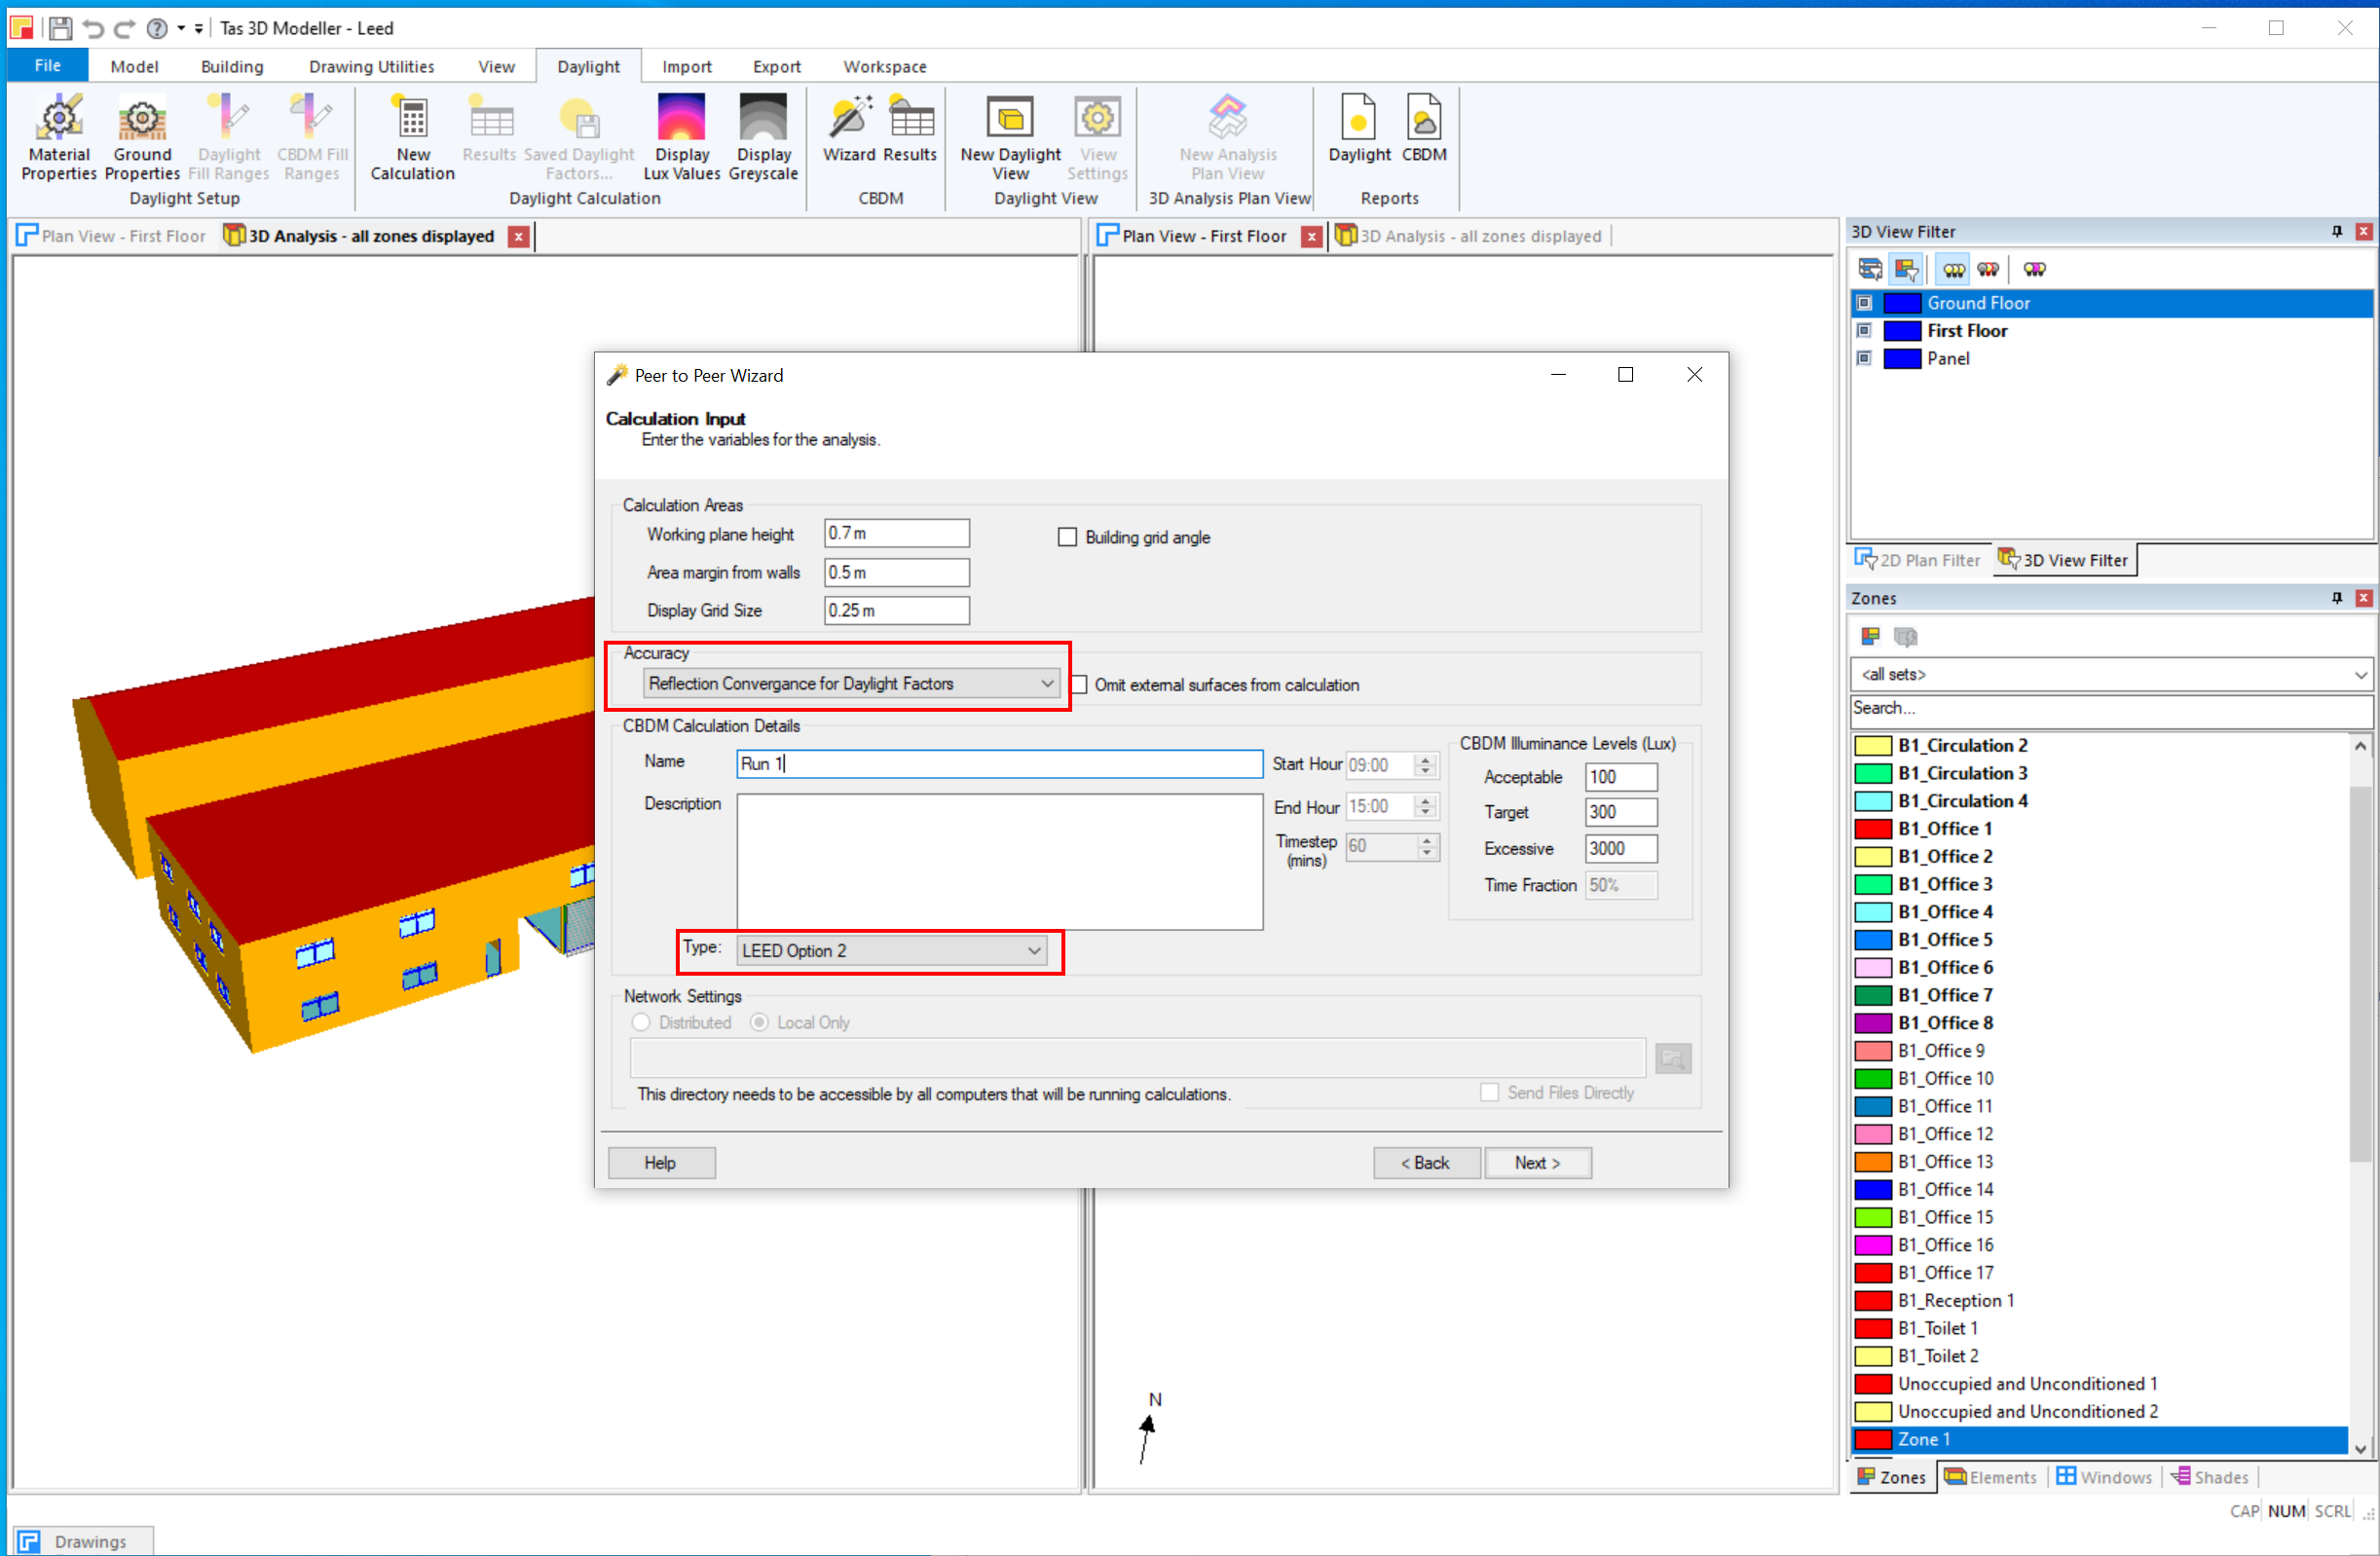
Name the run, so you can refer to it later. This is especially useful if you will be performing multiple iterations.
The accuracy should be set to the Reflection Convergence for Daylight Factors option.
3. Select weather data that represents where the building is situated.
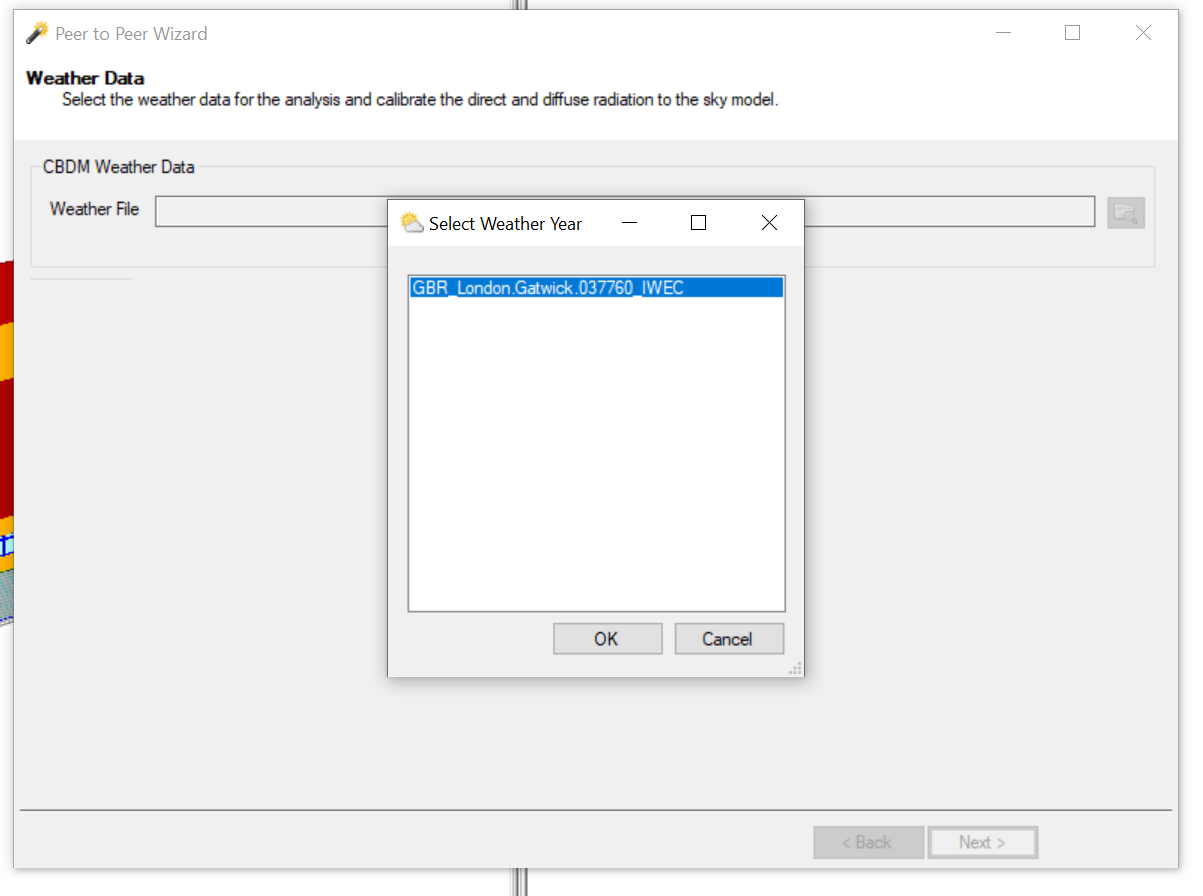
Tas can import a variety of weather formats including EPW weather files. To import EPW weather files into tas, open the Weather Database application from the Tas Manager and click File, then Import Weather Data.
If you create your own Tas weather files from EPW files, its always a good idea to verify the quality of the data, in case the data is incomplete.
4. Click Next and select which zone are to be included in the calculation.
Right click on them and click Include.
5. Start the simulation by pressing Next.
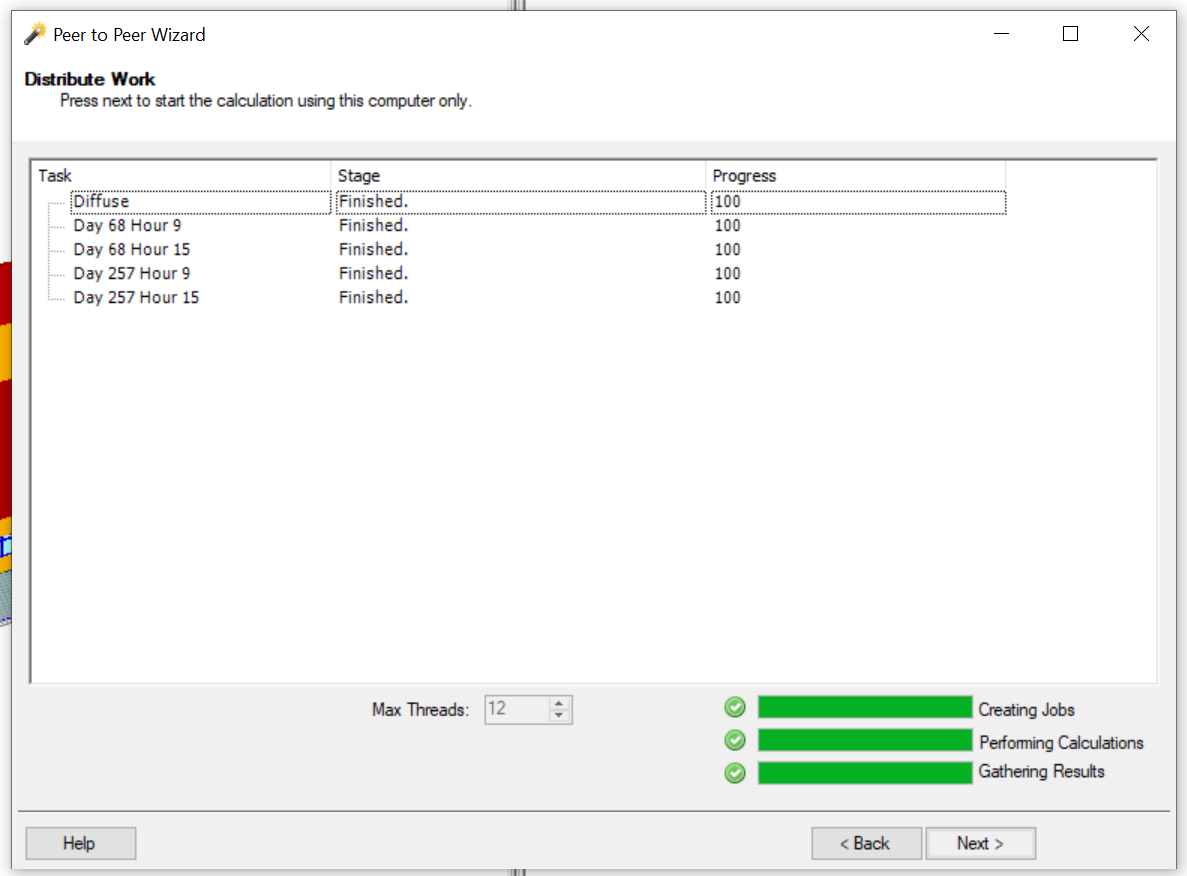
6. When the calculation is finished, press Next to view a report summarising the results.
If you selected an acceptable illuminance of 300 lux and an excessive illuminance of 3,000 lux, the UDIa result would indicates the annual occurrence of illuminances across the working plane that fall into this range.