3D Shade Surfaces
A 3D DWG file containing 3D geometry can be imported to represent additional shading to a model. For example, the 3D geometry can represent surrounding buildings or complex shading systems that cannot be modelled within the 3D modeller. These shading surfaces are then included in shading calculations for the Building Simulator and in Daylight calculations.
Pre-requisites
This is useful when modelling complex shading systems that may not be included in the gbXML export produced by other software.
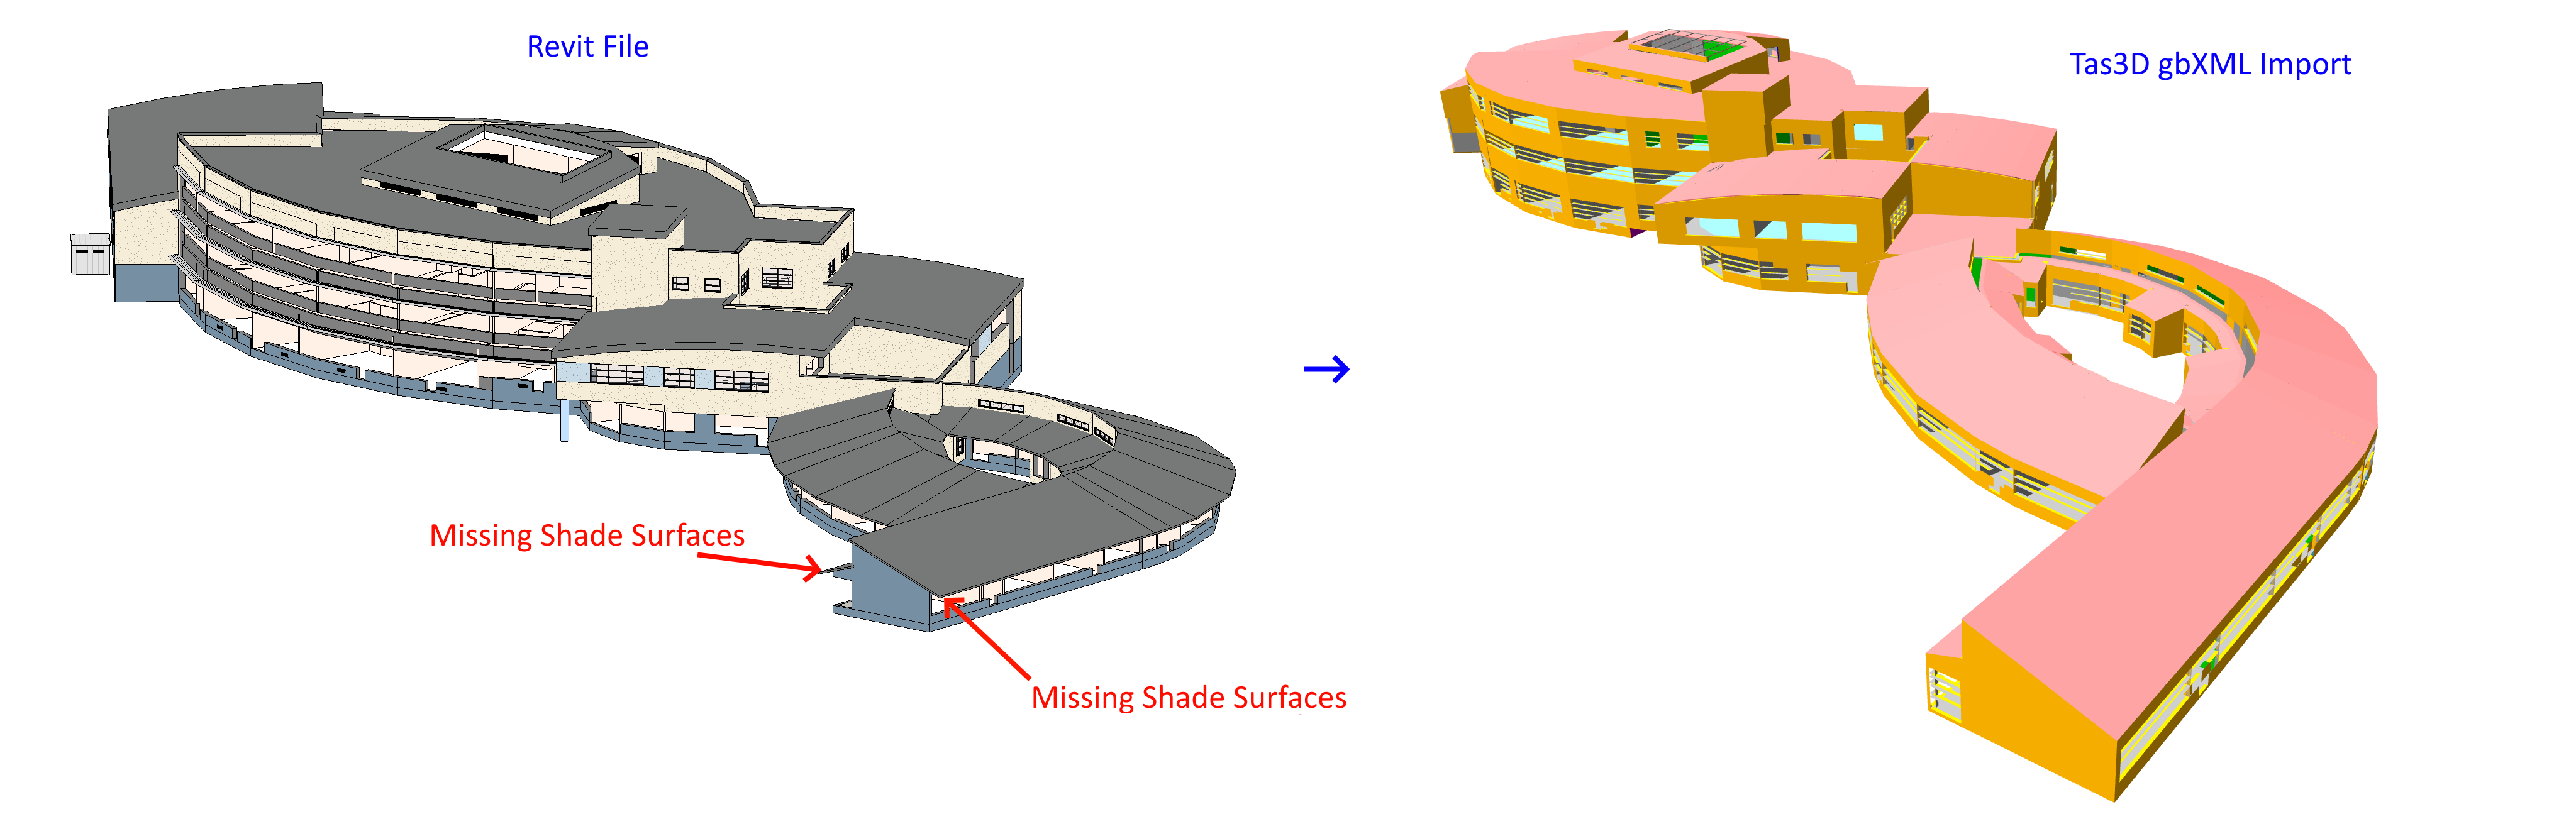
To import the missing shade surfaces in this case, we can use a 3D DWG containing those missing surfaces:
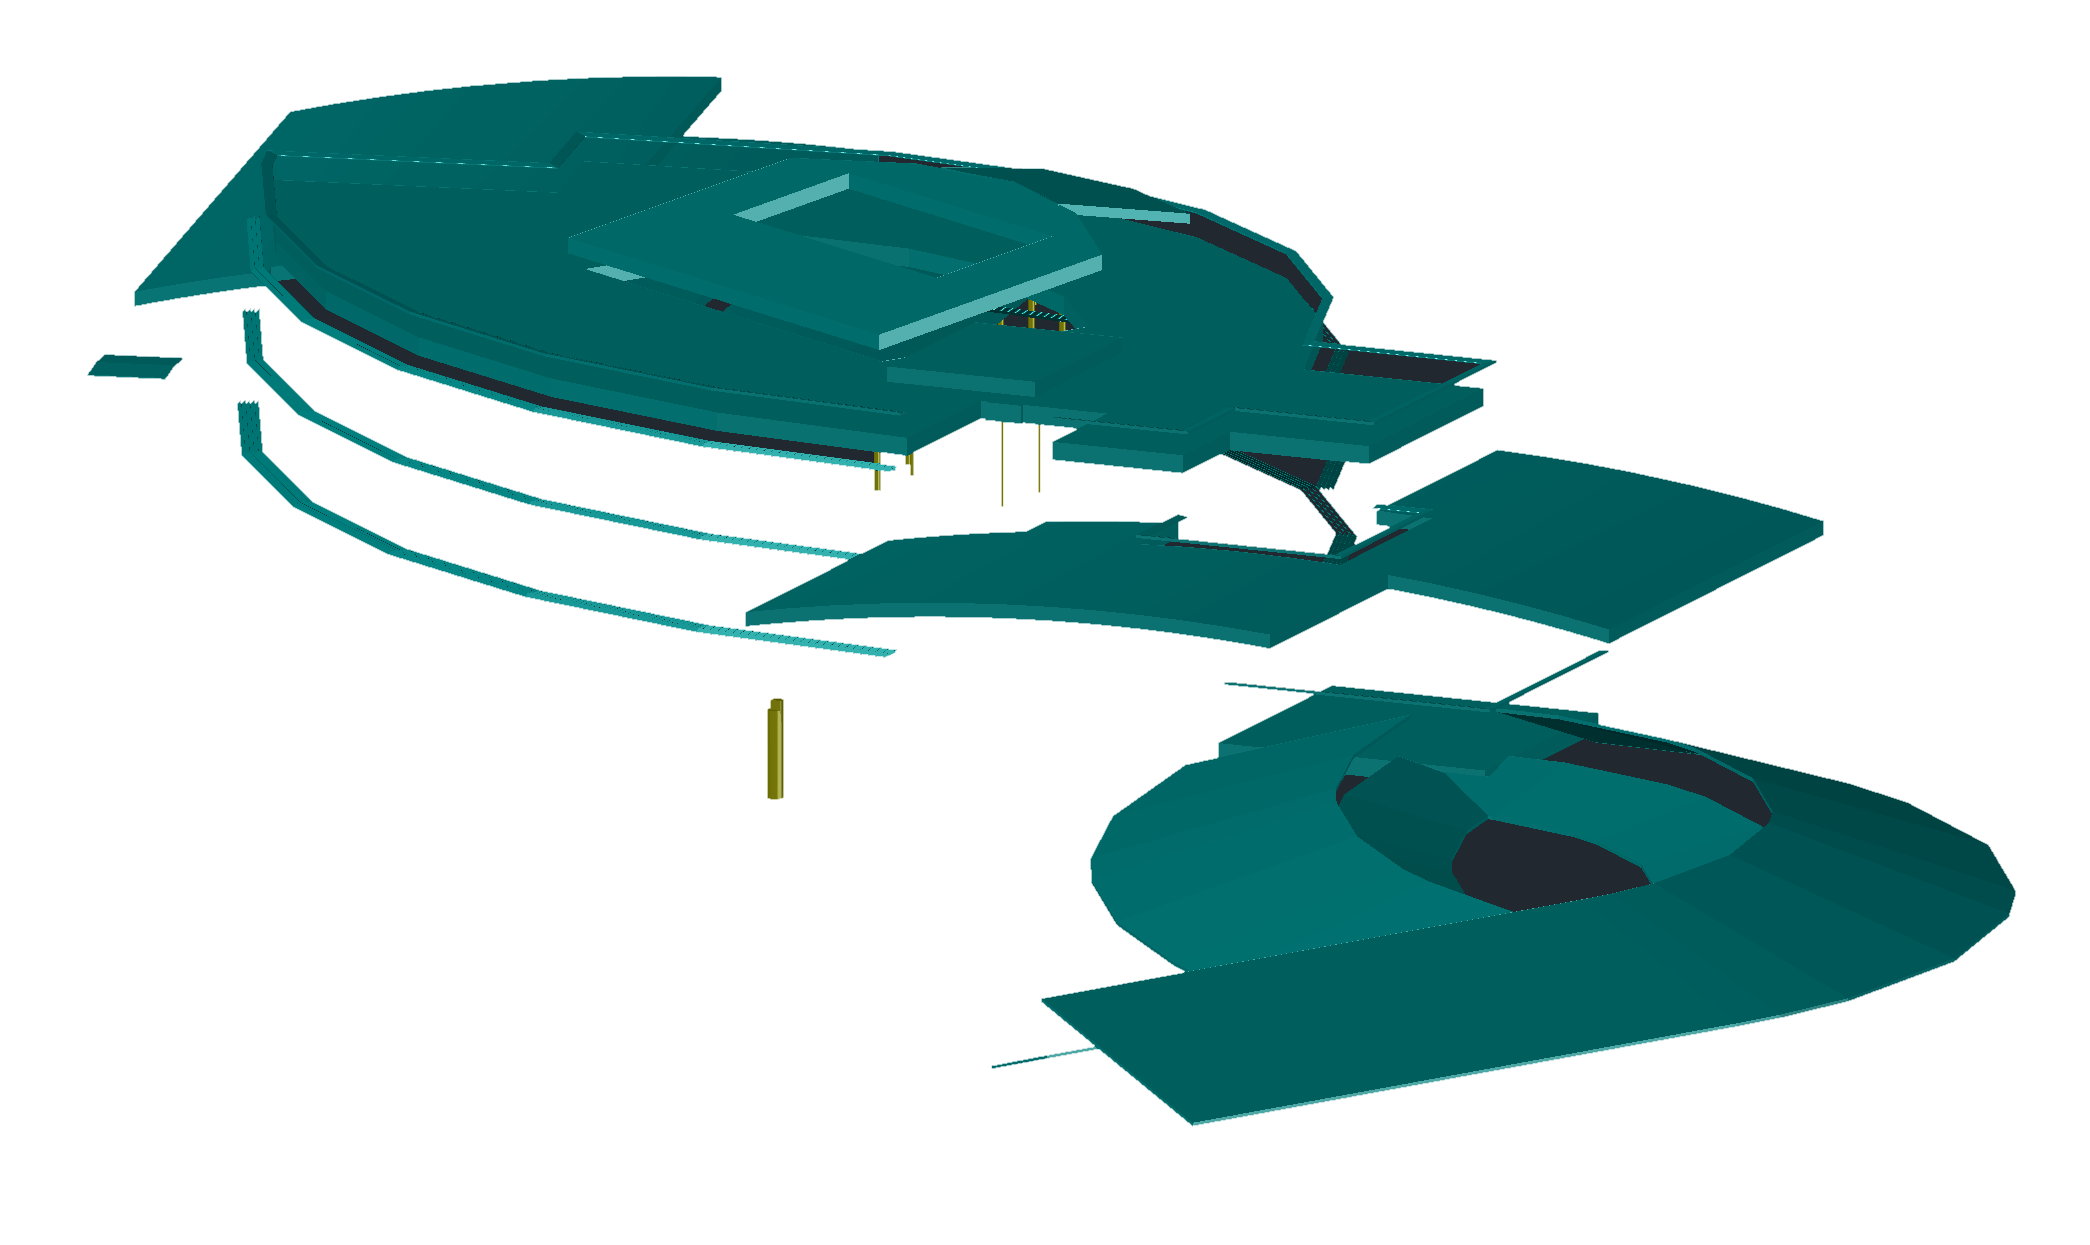
Autocad drawing exported from Revit showing only the missing shade surfaces from the gbXML file.
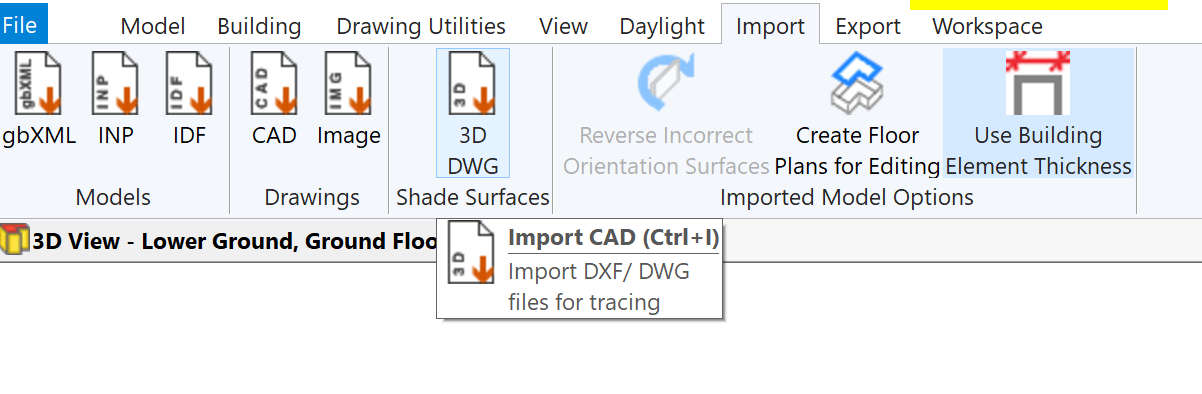
In the 3D modeller, after importing the gbXML file, press the Import DWG button:
Select the 3D DWG and press OK. You will then be presented with a preview of the DWG and some import options:
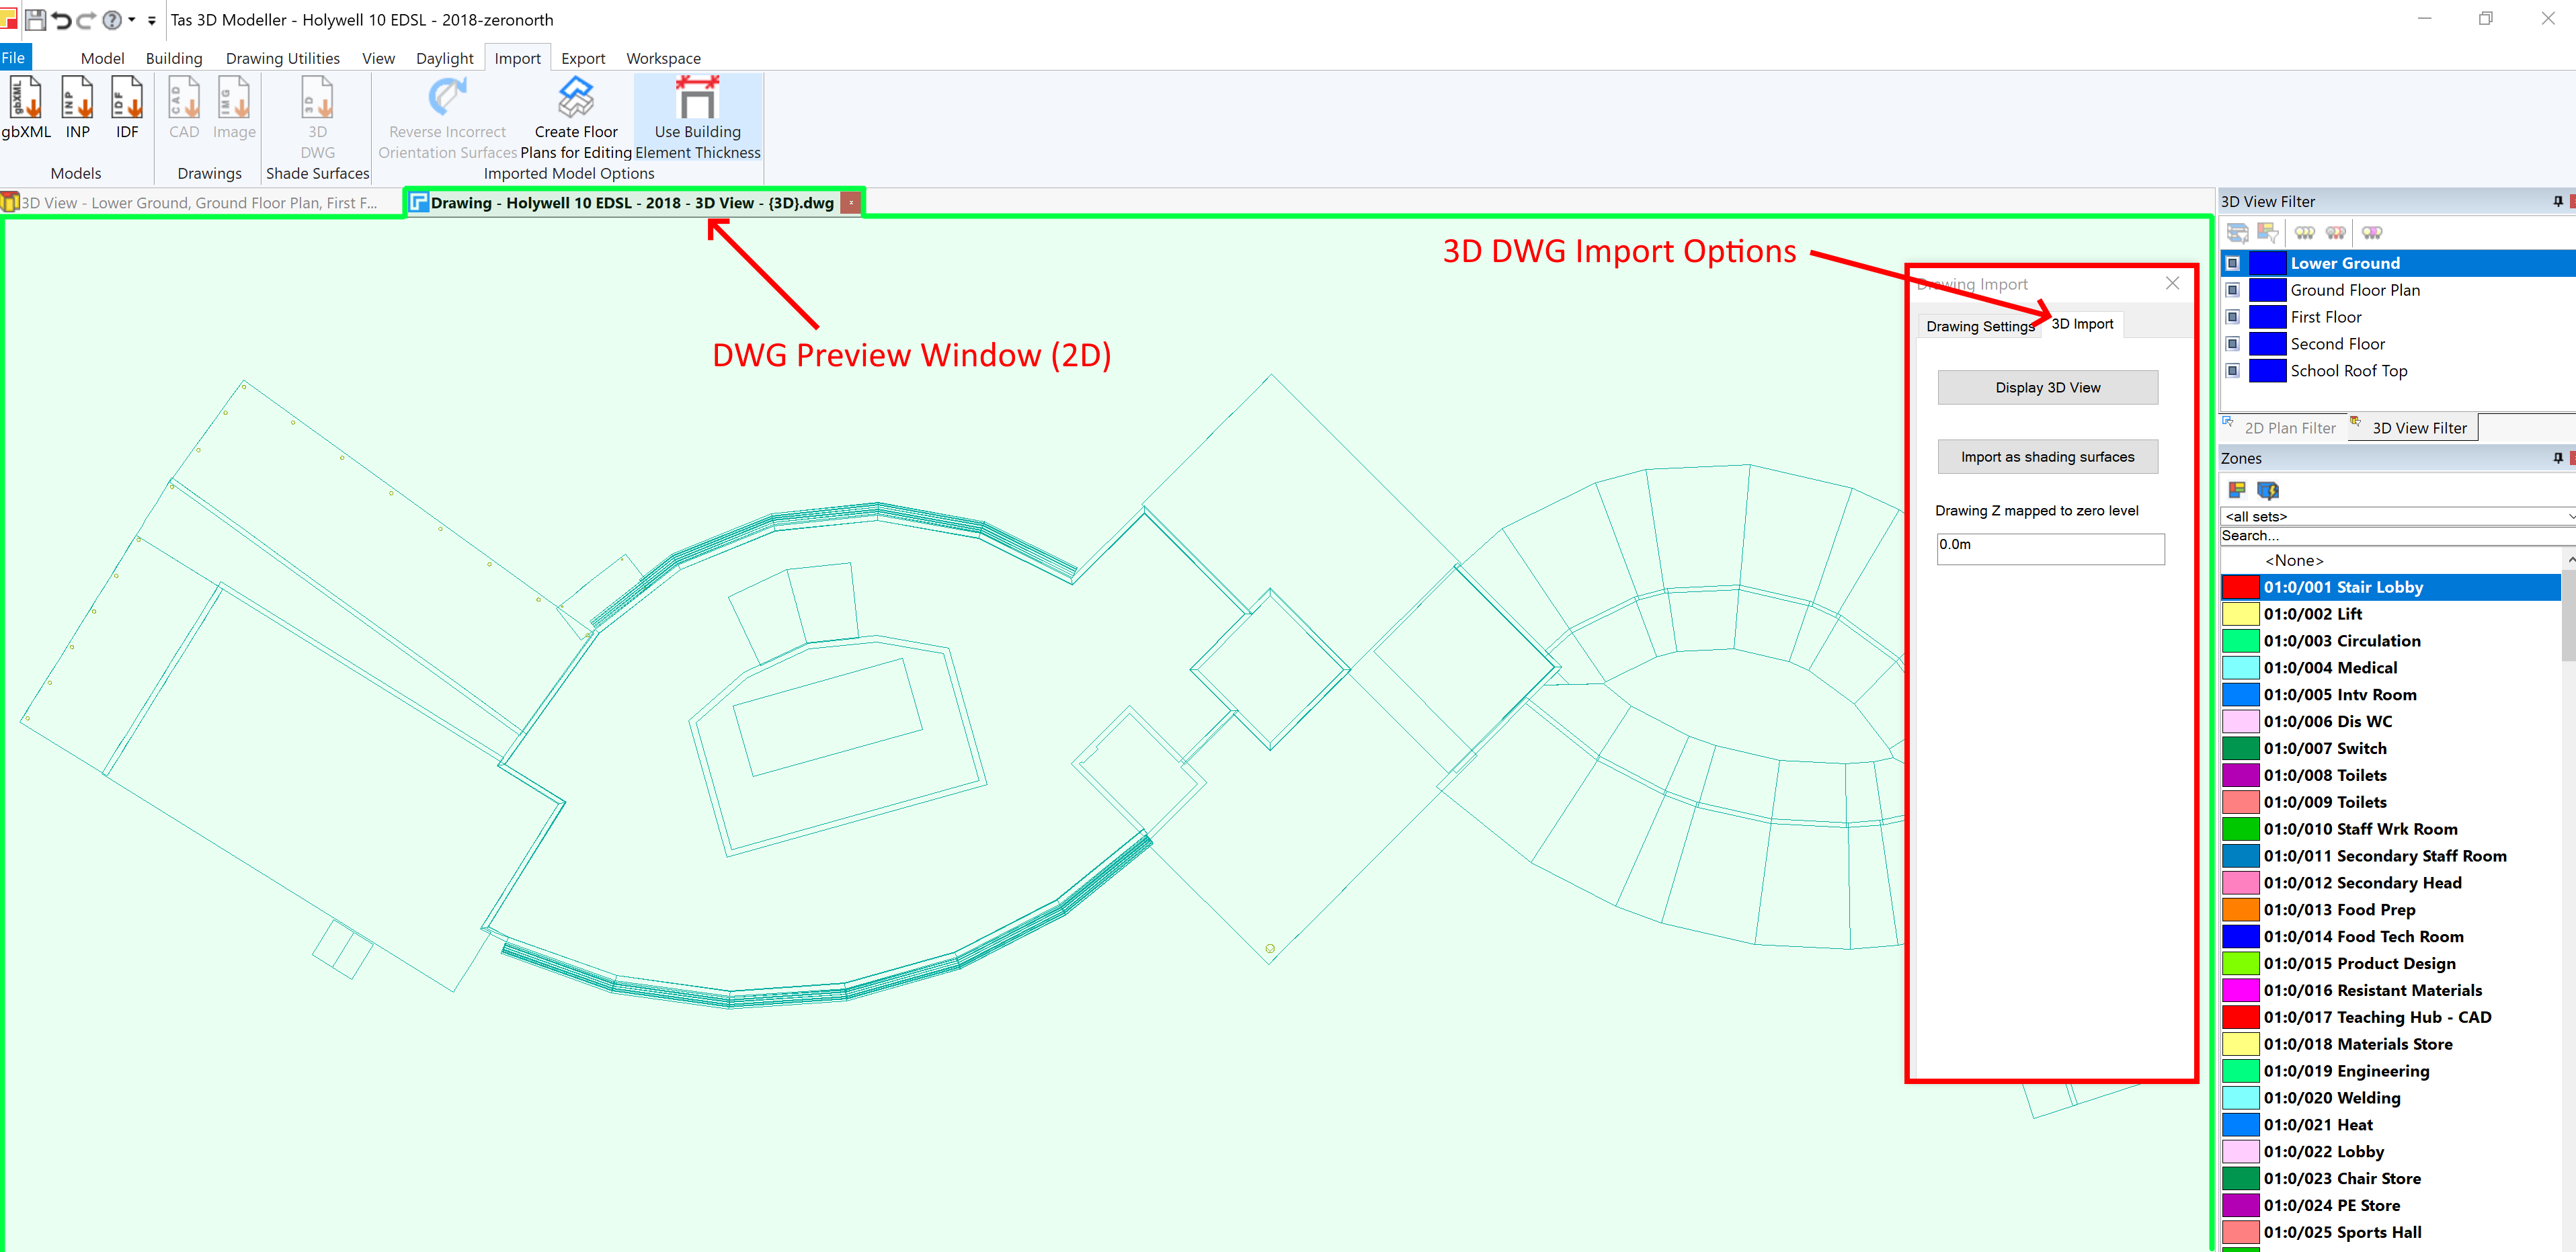
Select the layers you wish to import shade surfaces from on the Drawing Settings tab and then switch to the 3D Import tab to complete the process.
Set the height offset (z-mapping), which is used to adjust the height at which the imported geometry is placed, and press Import as Shading Surfaces to complete the process:
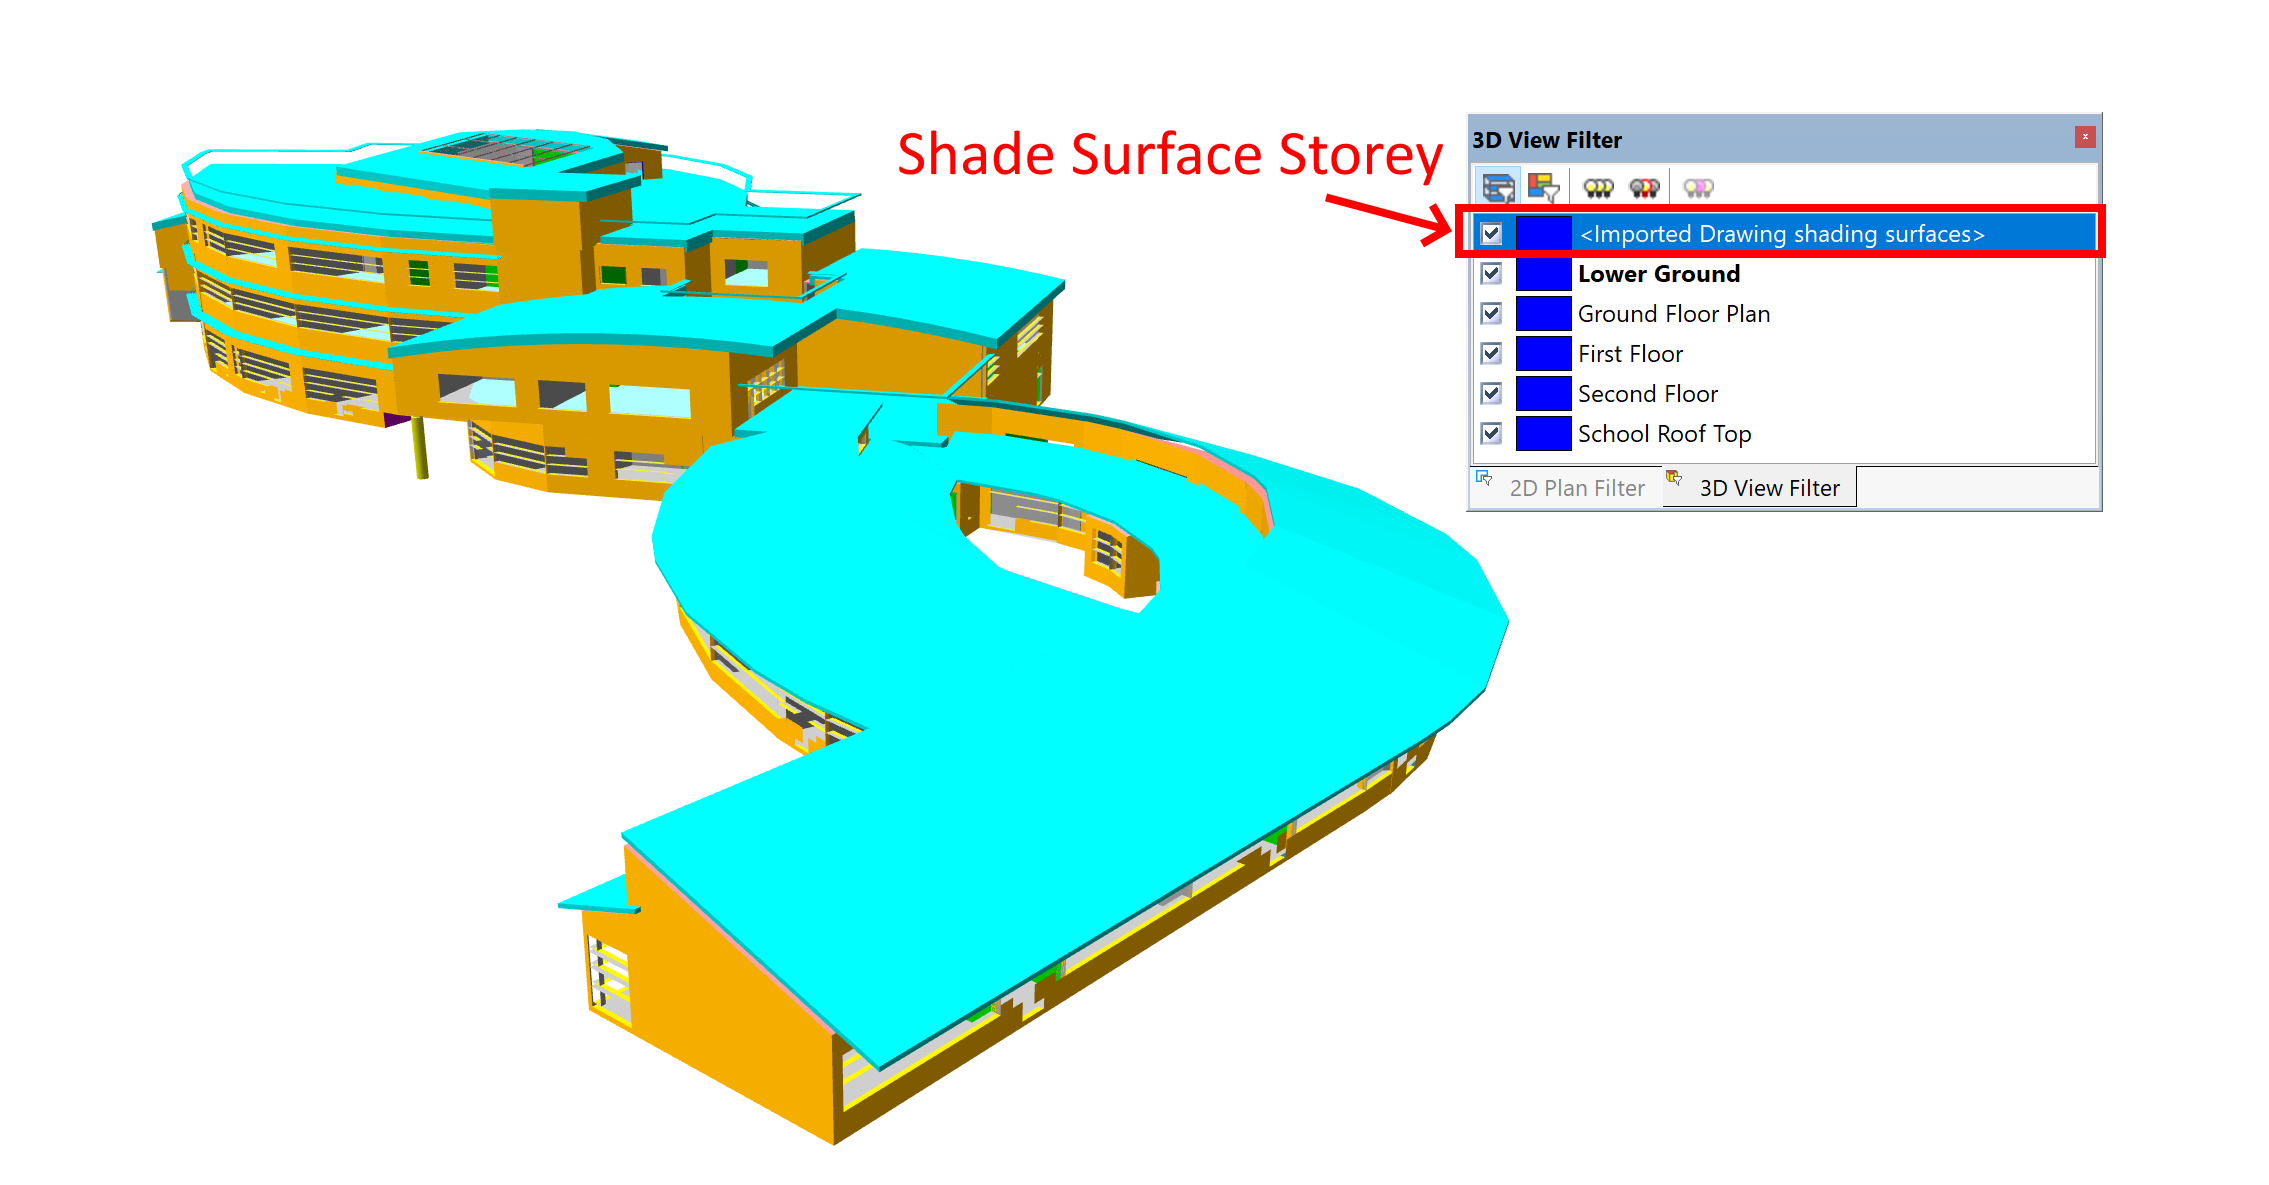
The imported shade surfaces appear on their own storey, and can be removed via the Edit Storeys Dialog.
If you import additional shade surfaces from another 3D DWG, you can choose to either merge these with your existing shade surfaces or replace them:
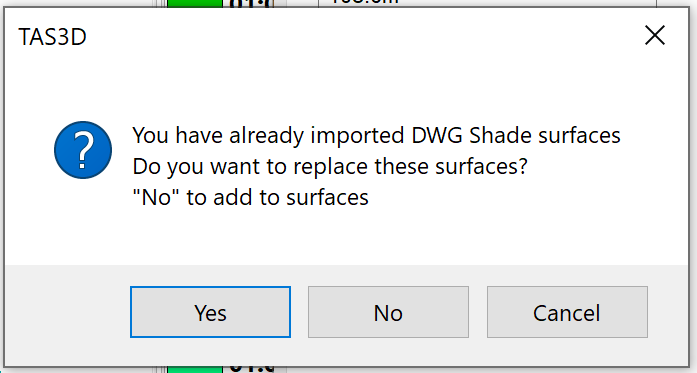
If you merge additional shade surfaces with the existing shade surfaces, they will be placed on the same Storey.