Building Elements
The Building Elements Table
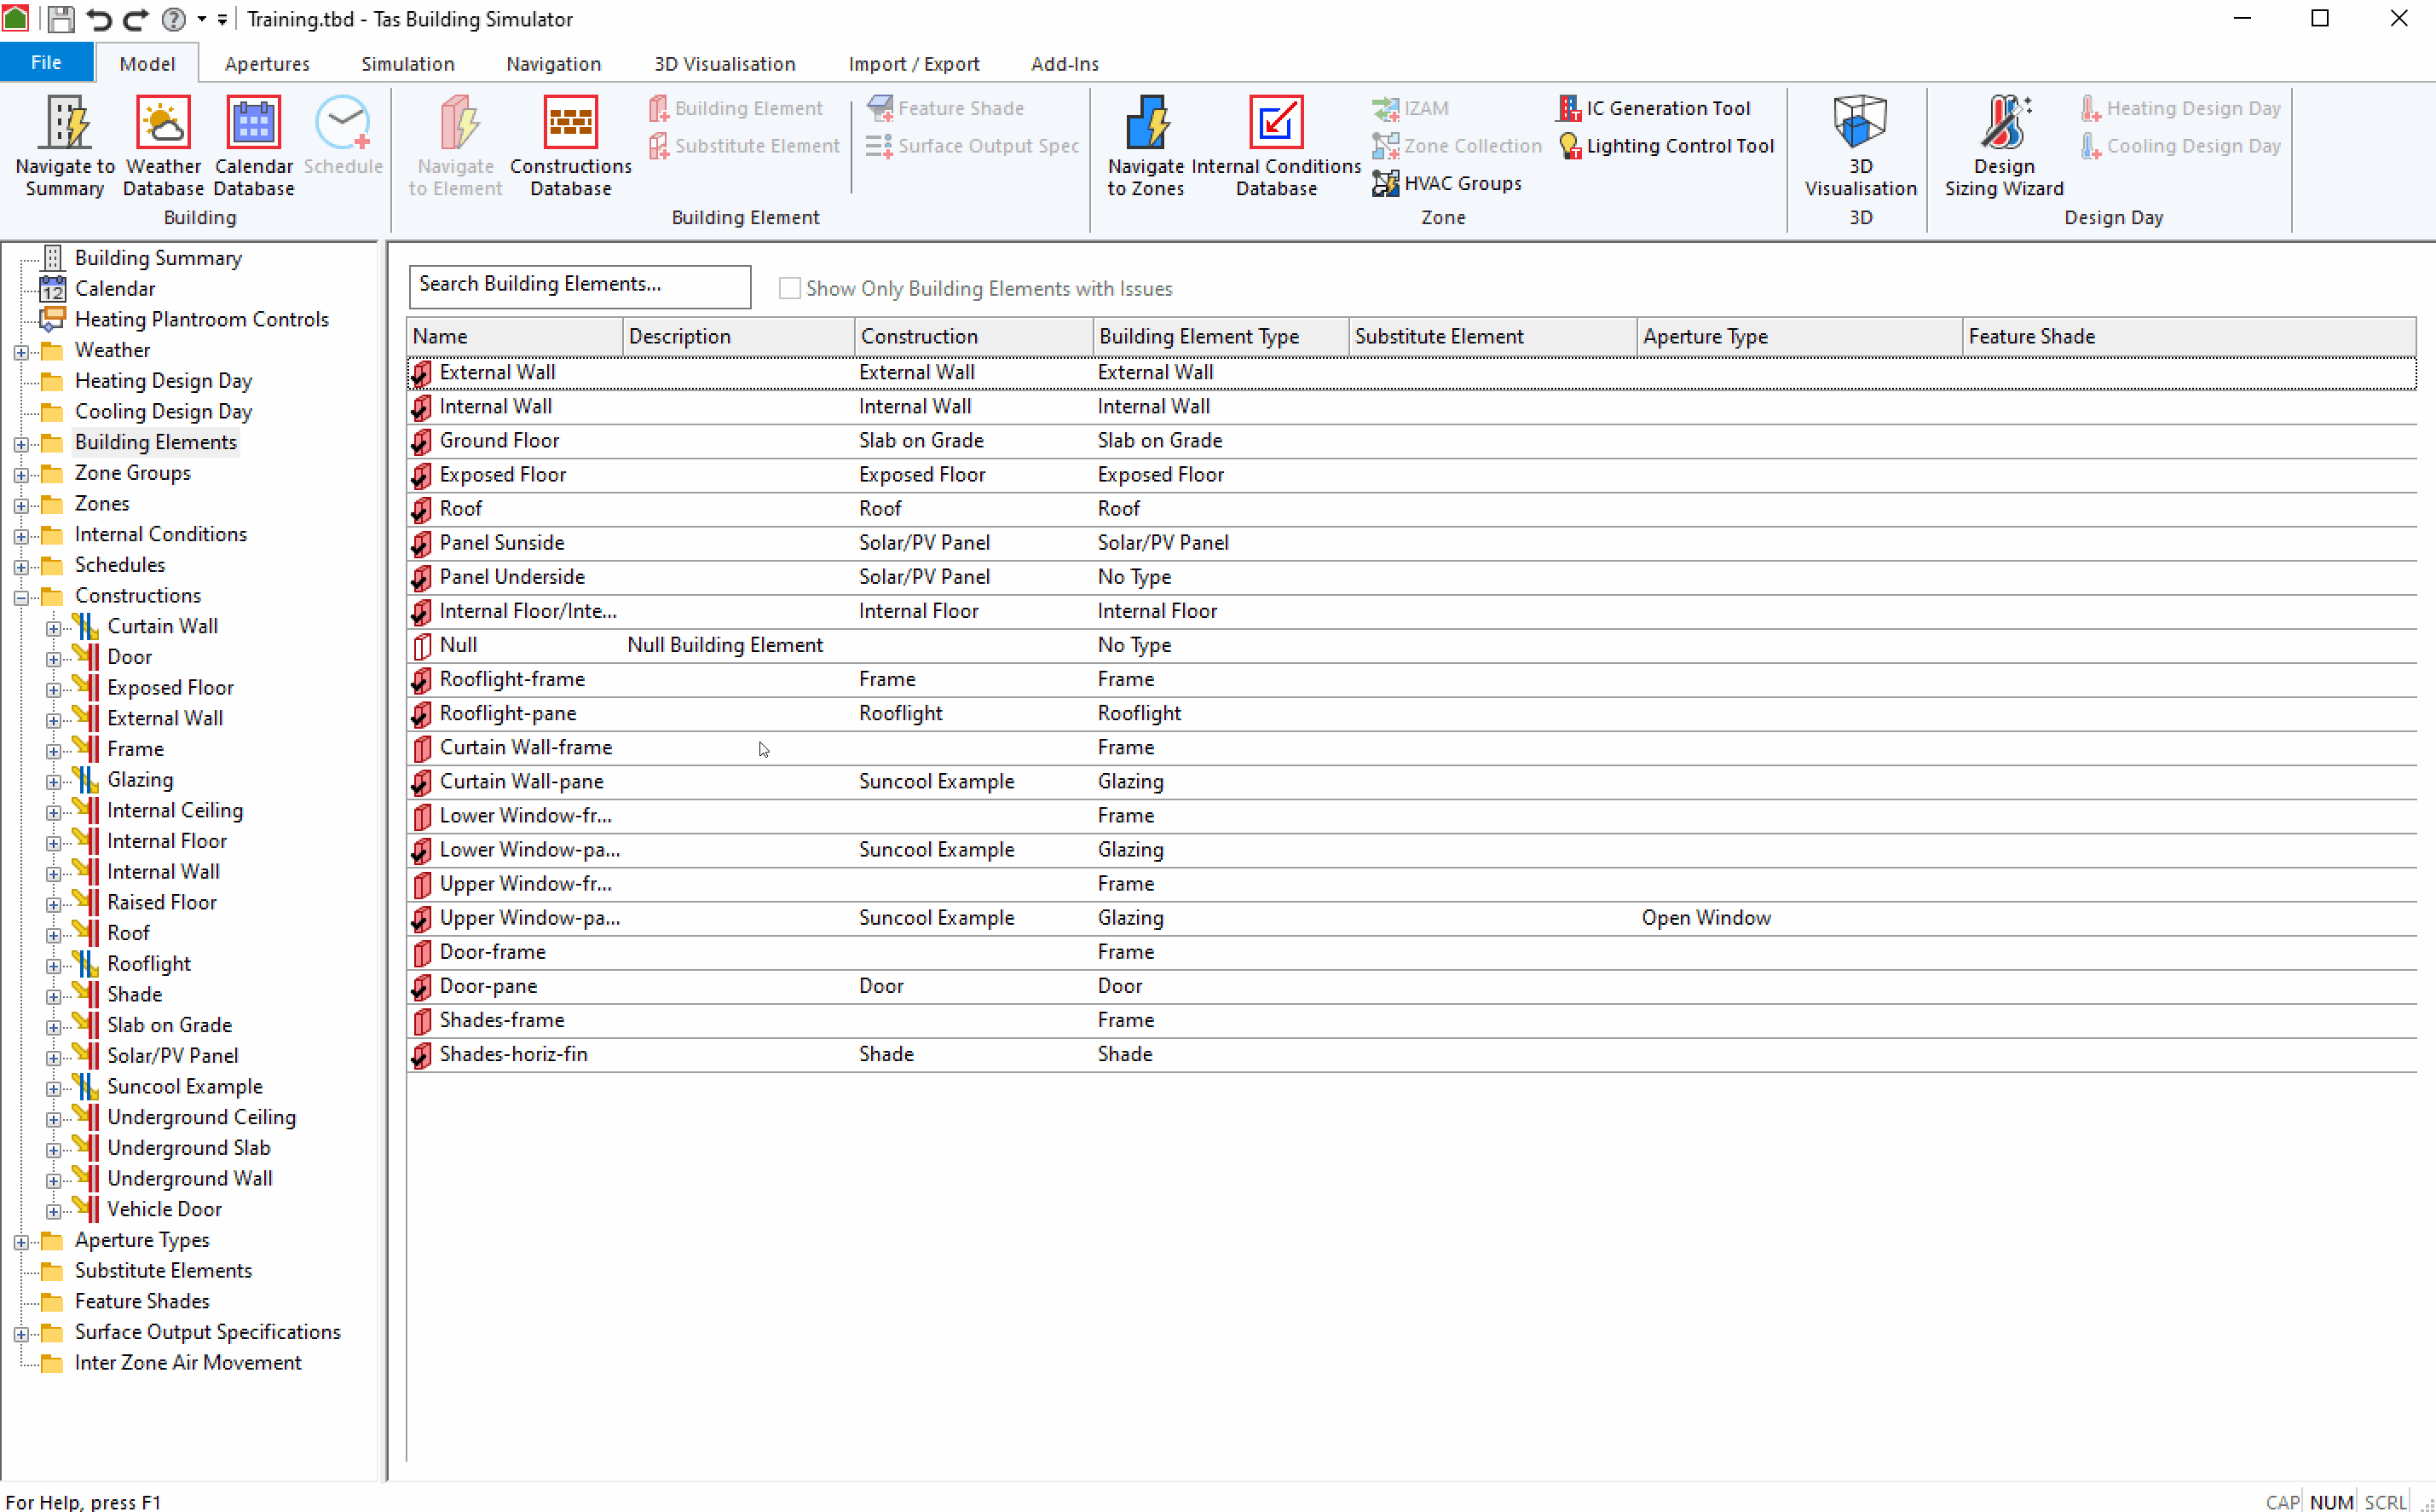
The Building elements table contains a list of all elements exported from the 3D model. Only elements used in zoned spaces will be exported - if you are expecting to see an element in the list but it is not visible, check it has been used in a zoned space. The default elements are listed first, then user-defined building elements, then new elements which have been created by Tas, such as ‘merged elements’ and lastly apertures & shades, which are broken down into “-pane” & “-frame” or “-fin” & “-frame” constituent parts.
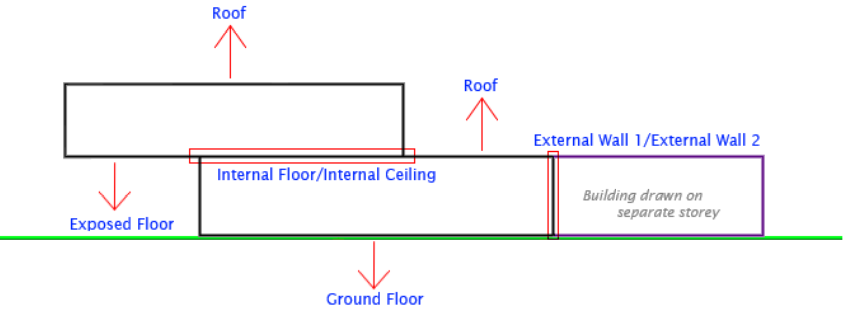
Merged elements exist where 2 surfaces in the 3d model are in contact. Most commonly this will produce an ‘Internal Floor/Internal Ceiling’ element, but vertical surfaces could also be merged, such as two external walls where they are drawn on separate storeys:
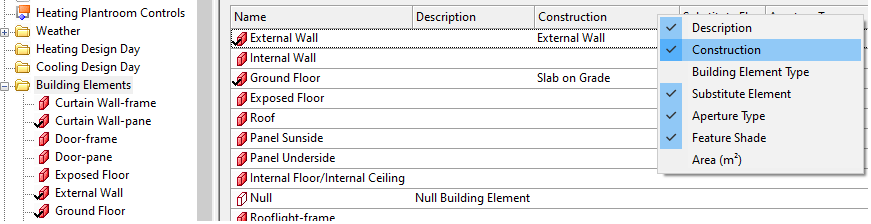
The Building Elements Table contains column headers which can be turned on or off by right clicking on any header, and clearly shows the various attributes that have been assigned to a Building Element.
Double clicking on any element will take you to the details page for that element, as will right clicking on the element and selecting ‘View’, or expanding the Building Elements folder in the tree-view on the left hand side and selecting the element.
Applying Attributes To Building Elements
Constructions, Aperture Profiles, Feature Shades & Substitue Elements are all attributes that can each be assigned to Building Elements.
Applying an attribute to a building element can be done in any of 3 ways:
Simply drag the attribute from the relevant expanded folder on the left, on to the Building Element in the list on the right.
Tip
Hold down Ctrl to select multiple elements or select a range using shift to apply an attribute to more than one Building Element at the same time.
Expand both the relevant folder (for example the constructions folder) and Building Elements folder on the left and drag the attribute onto the Building Element within the tree-view
Go to the Buidling Element details page and choose the desired construction from the drop down list of constructions currently in the tbd, or drag an attribute to the relevant box on the right.
Any applied attribute will be listed in the columns on the Building Elements Table, so long as those columns are not hidden. Once a construction has been applied to a building element that will be indicated by a tick appearing next to the element name in both the table and tree view.
All building elements must have a construction applied in order for the simulation to run, except for the null building element which cannot have a construction applied.
To remove an attribute from a Building Element you can:
Right click the building element in the tree view and ‘remove…’
Go to the Building Element and unassign the construction from the drop down list, or delete the assigned attribute from the relevant box by selecting it and pressing Delete on the keyboard.