Other Examples
This section contains an assortment of other common things you may be required to model, and tips on how to model them.
Atria
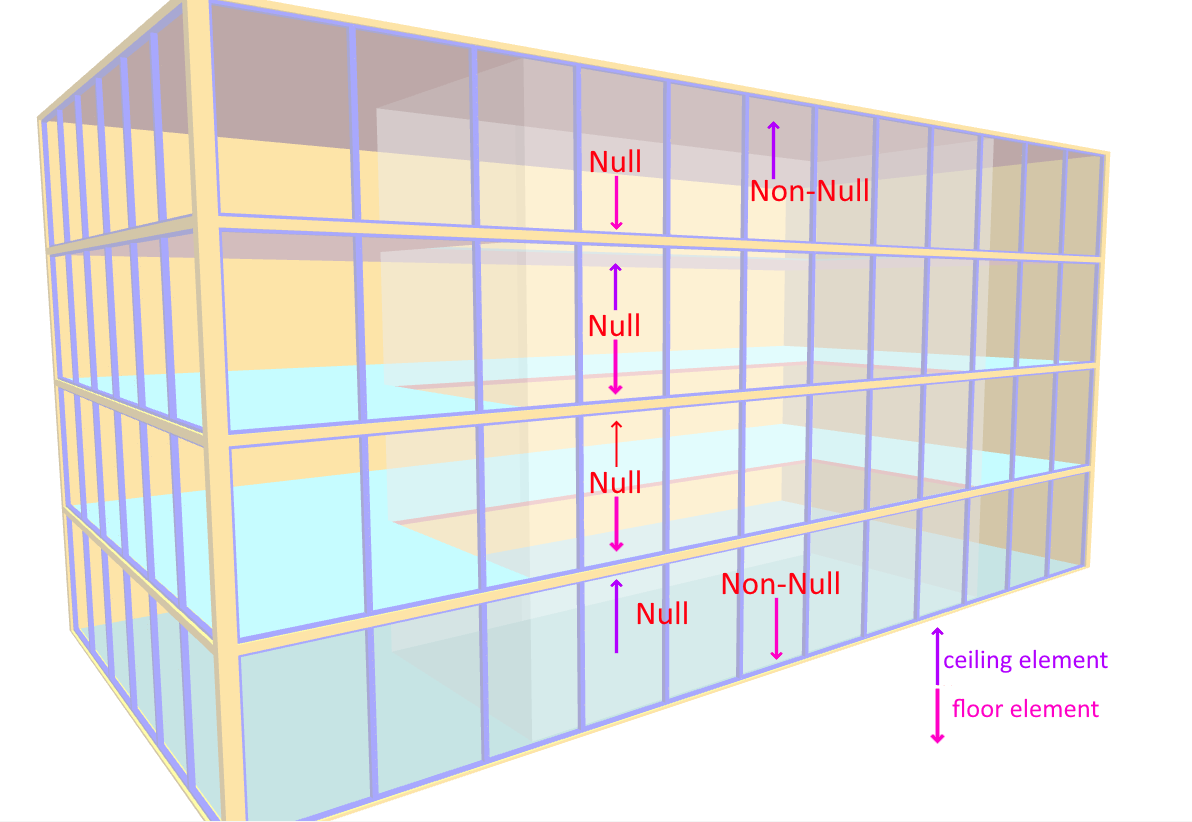
In this example, we will model an atrium that spans 4 storeys:
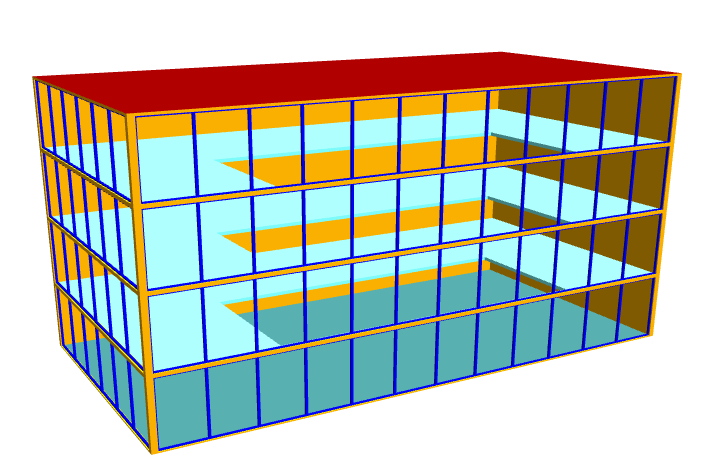
We will not discuss zoning the atrium, as the way in which it is zoned will depend on the purpose of the model.
When creating an atrium, it is important to match null ceilings on the below storey with null floors on the above storey in order to create the gap:
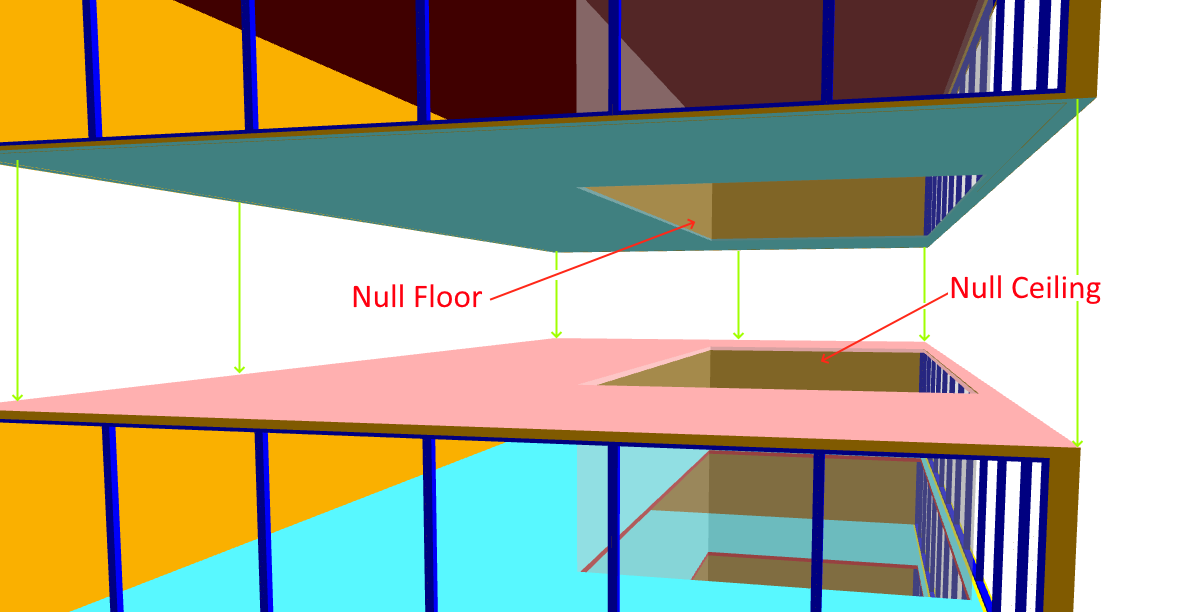
To avoid warnings and ensure the walls align perfectly, the copy walls to storey tool will be used.
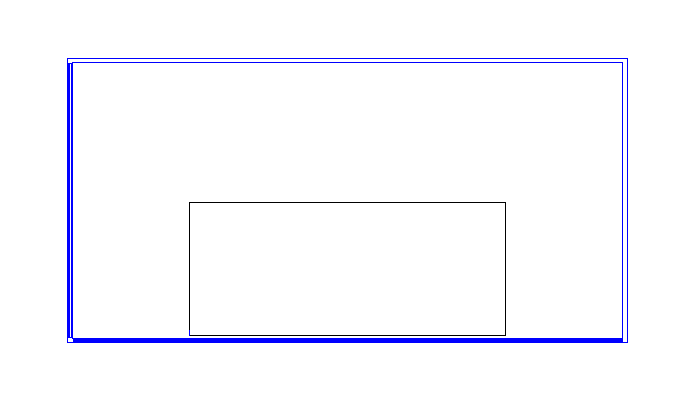
Start by placing null walls on the lowest storey to indicate the position of the atrium:
Select the null atrium walls, right click and use the copy to storey tool to copy the walls to the other storeys in the model:
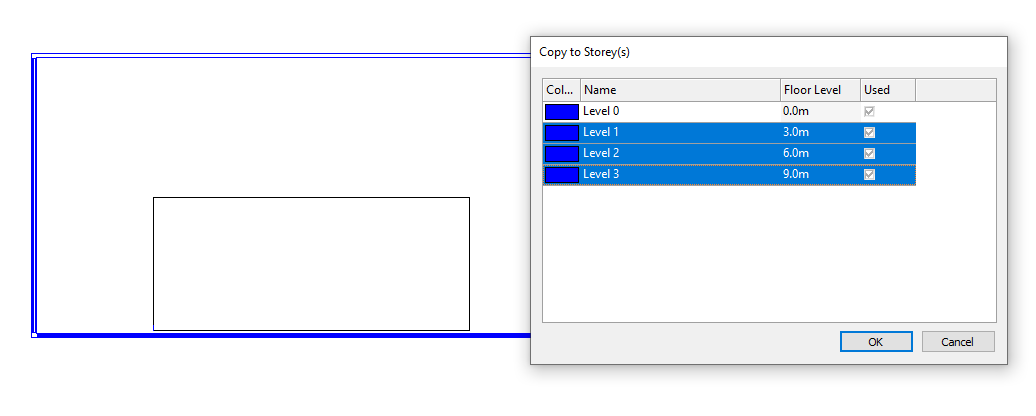
For the lowest storey, set the ceiling element of the atrium space to null.
For the highest storey, set the floor element of the atrium space to null.
For the storeys in between, set both the floor and ceiling elements of the atrium space to null:
Balconies
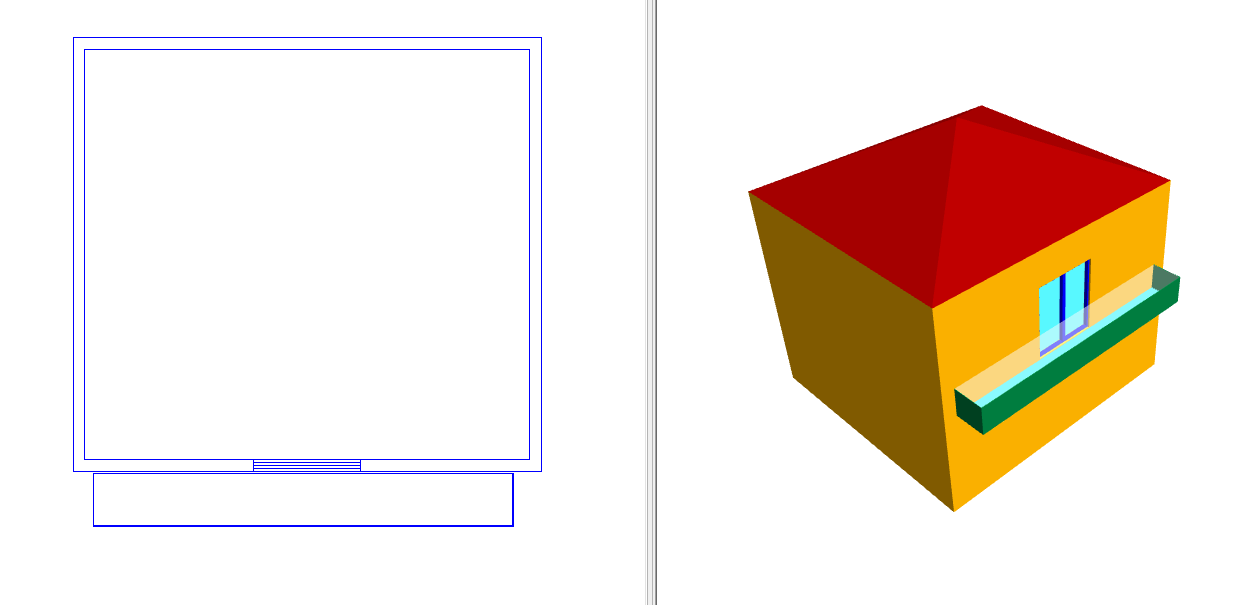
Modelling balconies can be achieved by drawing the balcony as a space adjacent to an external wall, ensuring the space does not make contact with the external wall.
By ensuring the balcony space does not make contact with the external wall, you will avoid window placement errors as the two spaces of differing height will not intersect.
Note
You can avoid caused by two spaces intersecting by drawing them close together but not letting them touch.
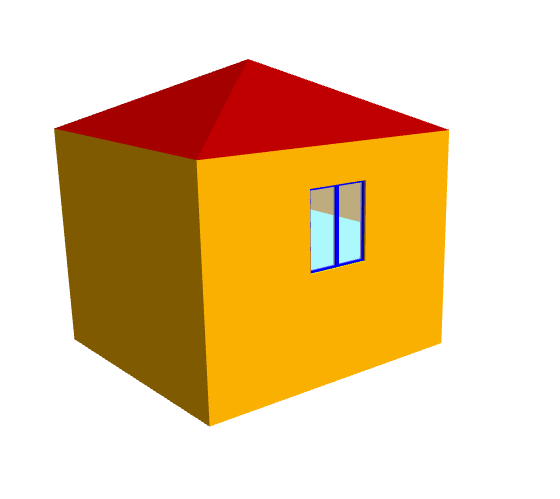
In this example, we will add a balcony to this model:
Place walls to create a box next to the window where the balcony should be:
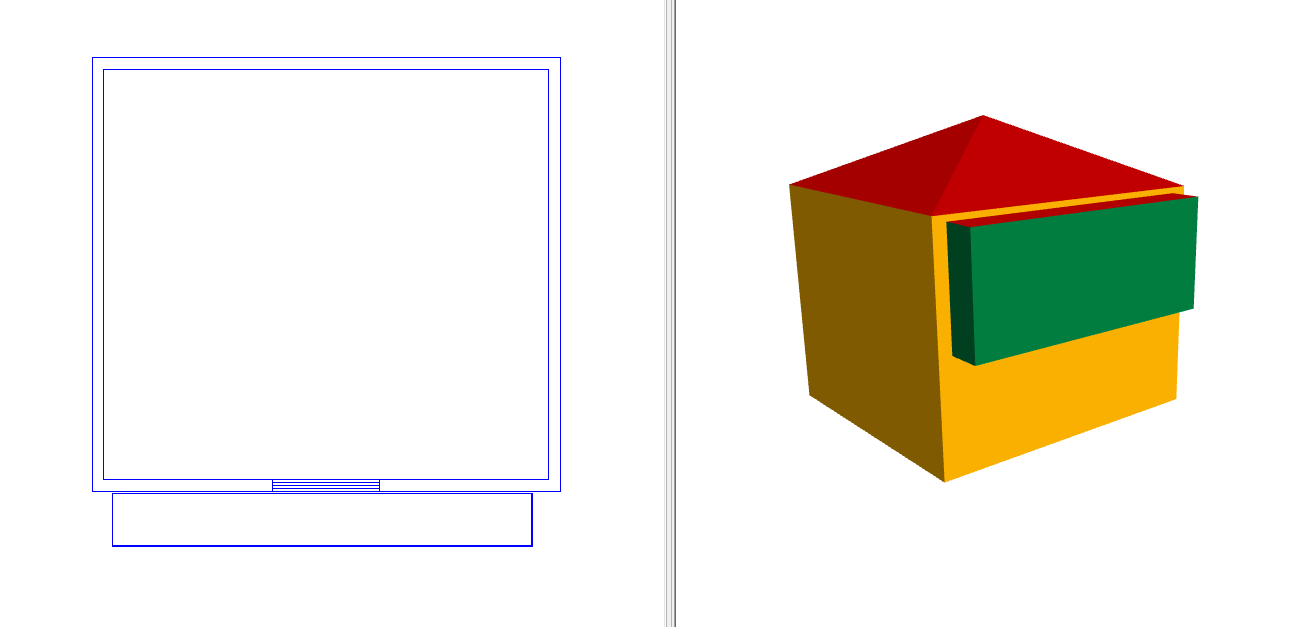
Set the ceiling height of the balcony space to be the height of the balcony wall, and make the ceiling element null:
Note
If you are finding it difficult to place the balcony wall close to the facade of the building, you can place it on a separate storey
The balcony should be assigned an external zone.
Basements
Basements can be modelled in the 3D modeller by making use of the ground checkboxes on the storeys dialog:
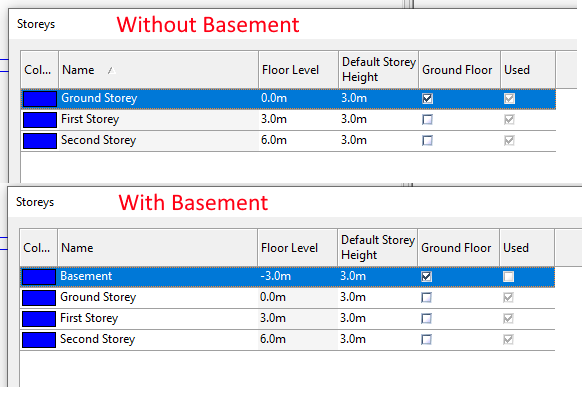
The floor level of the basement does not have to be negative. The ground checkbox should be unchecked for the ground storey if a basement is present, as it is no longer in contact with the ground.
In the create building elements dialog:
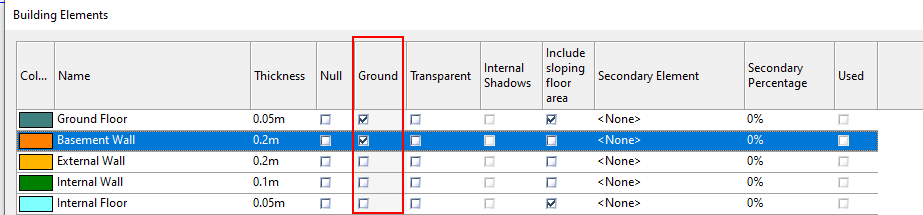
The ground checkbox should be unchecked for the ground floor building element as it is no longer in contact with the ground.
Basement walls are in contact with the ground, so their ground floor checkbox should be checked.
Lifts & Risers
If you need to model gains in lifts and risers, you can draw lifts & risers into the 3D model in the same way you would an atrium.
You can zone the lifts and assign appropriate internal conditions that reflect the gains in the riser.
For part La and EPCs, you do not need to zone risers or model them with null floors/ceilings. Use of the unoccupied and unconditioned internal condition is optional.