Pitched Surfaces
Simple pitched surfaces can be created by selecting either walls or joins and changing their heights.
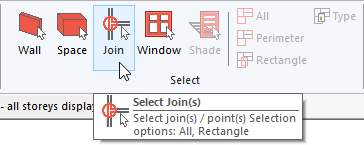
Joins
First pick the Select Join tool from the Model menu:
Next, right-click on a join and select height:
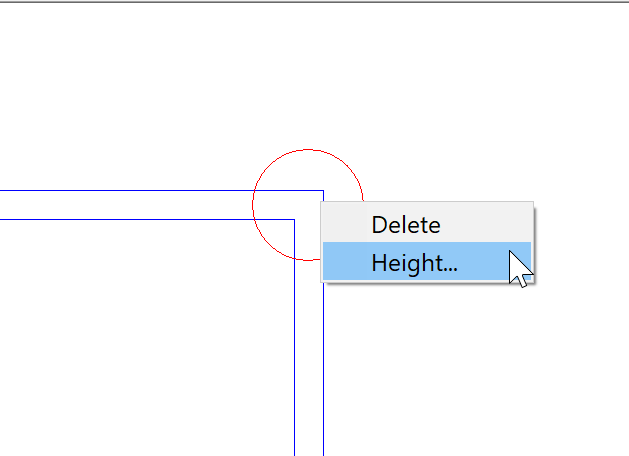
By adjusting two joins, you can create a simple pitched roof:
Walls
You can also adjust the height of walls to achieve a pitch. Use the Select Wall tool and right click on a wall to adjust its height:

Construction Lines
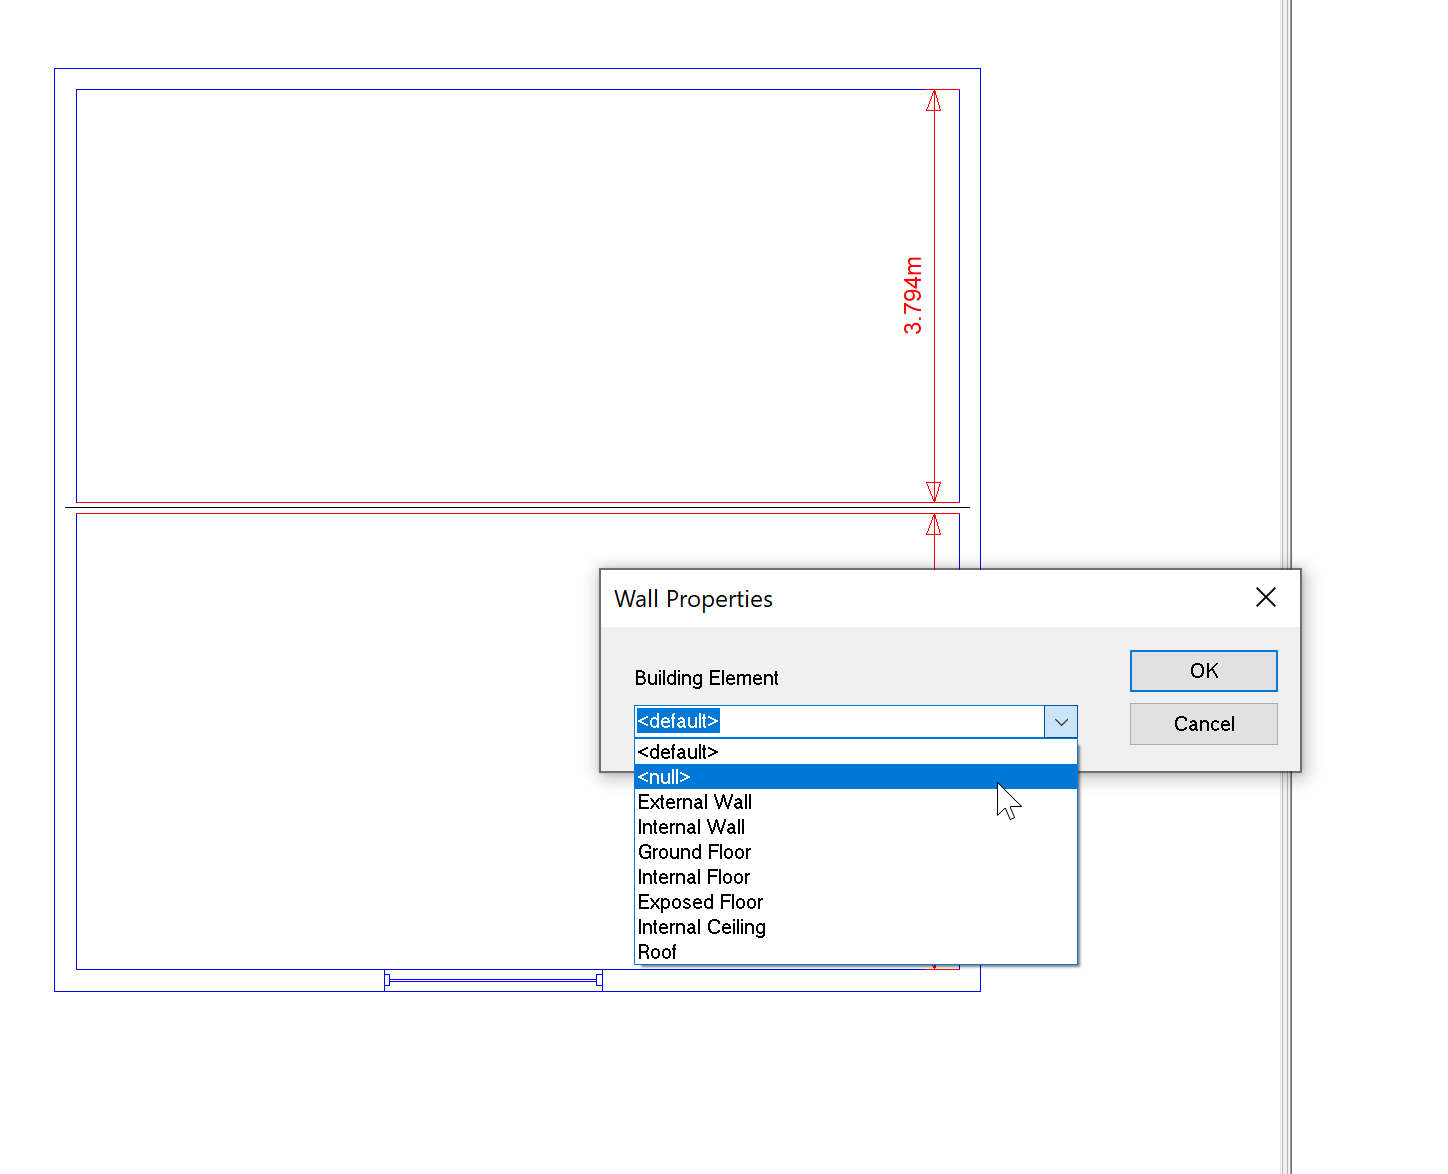
If you need to adust the height of a roof where there is no wall, you can create a construction line. In Tas, this is known as a null wall. These can also be used to split up a space where no physical barrier exists.
To create a null wall, draw a normal wall and change its building element type to null. Use the Select Wall tool and right click on a wall to set its properties:
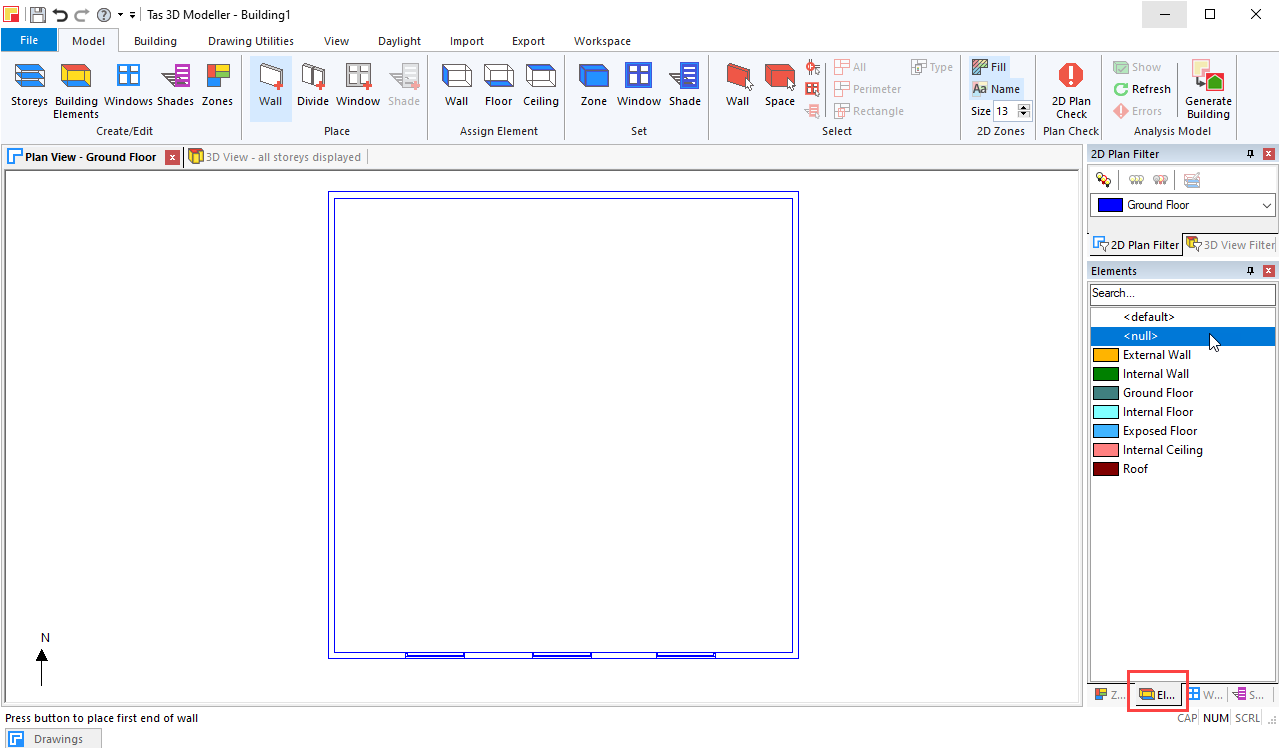
Or to create a null wall, first select the null element in the Building Elements workspace panel and then draw the line using Place Wall tool:
For more information about creating pitched surfaces, see section Creating Planes.