Starting a New Project
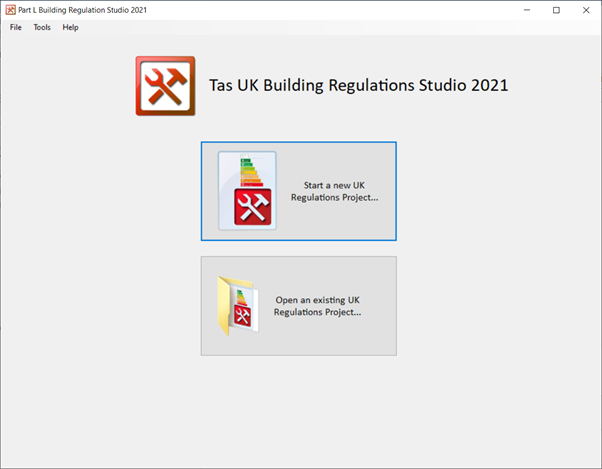
With the studio now open you will have the option to start a new project or open an existing one. For this tutorial we are going to start a project from scratch and import our source building data file.
Before you begin you should make sure that you’ve closed any Tas files, i.e., if you’ve got any TBD or T3D files open on your computer close these along with any databases that you might have open too.
Exercise and Notes
Open the application and you will see the main window on your screen. Click on the Start a new project button to proceed.
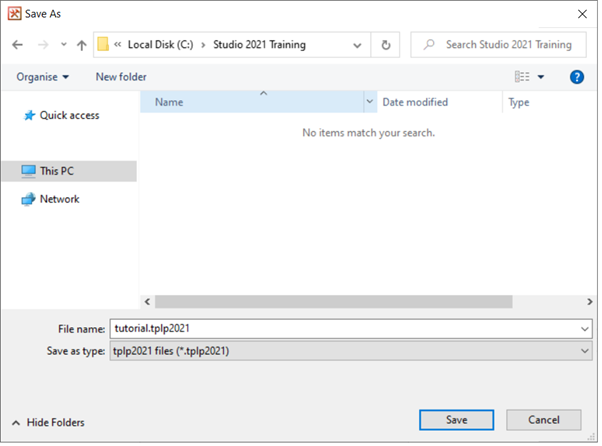
You will be asked to type in a name for the new TPLP2021 file. On the Save As dialog, input a suitable name. We’ve used the name ” Tutorial” which means a new file will be added to our project directory. The new file will be called tutorial.tplp2021.
Note that the “save as type” field shows “.tplp2021” which is the file extension for 2021 projects.
When you’ve entered a name, click on the Save button to continue.